Uploading files on server
After downloading your PHP script from codecanyon, login to your hosting provider and go to its file manager. Upload the ZIP file on your server. If you want to upload the script on a subdomain, you should upload in the same folder name as your subdomain.
After uploading the ZIP file, extract it there and make sure to delete the ZIP file after extraction as it will only use unnecessary space on your server.
Installation Setup
After the uploading is done on your server, open your domain/subdomain on your web browser on which you upload the script files. It will automatically opens up the web installer to install the application on your server for the first time. The installer contains a few steps to install the application, each step is very important and is explained below.

Check Minimum requirements

Enter database details

Setup your Admin account

Save important configuration settings for your app to run properly

Launching App
Once you are done with the web installer, you can simply launch your website. And login to your admin account you just created after verifying your email and then you can change further settings from the admin panel and customise the application as per your use and build your online business.

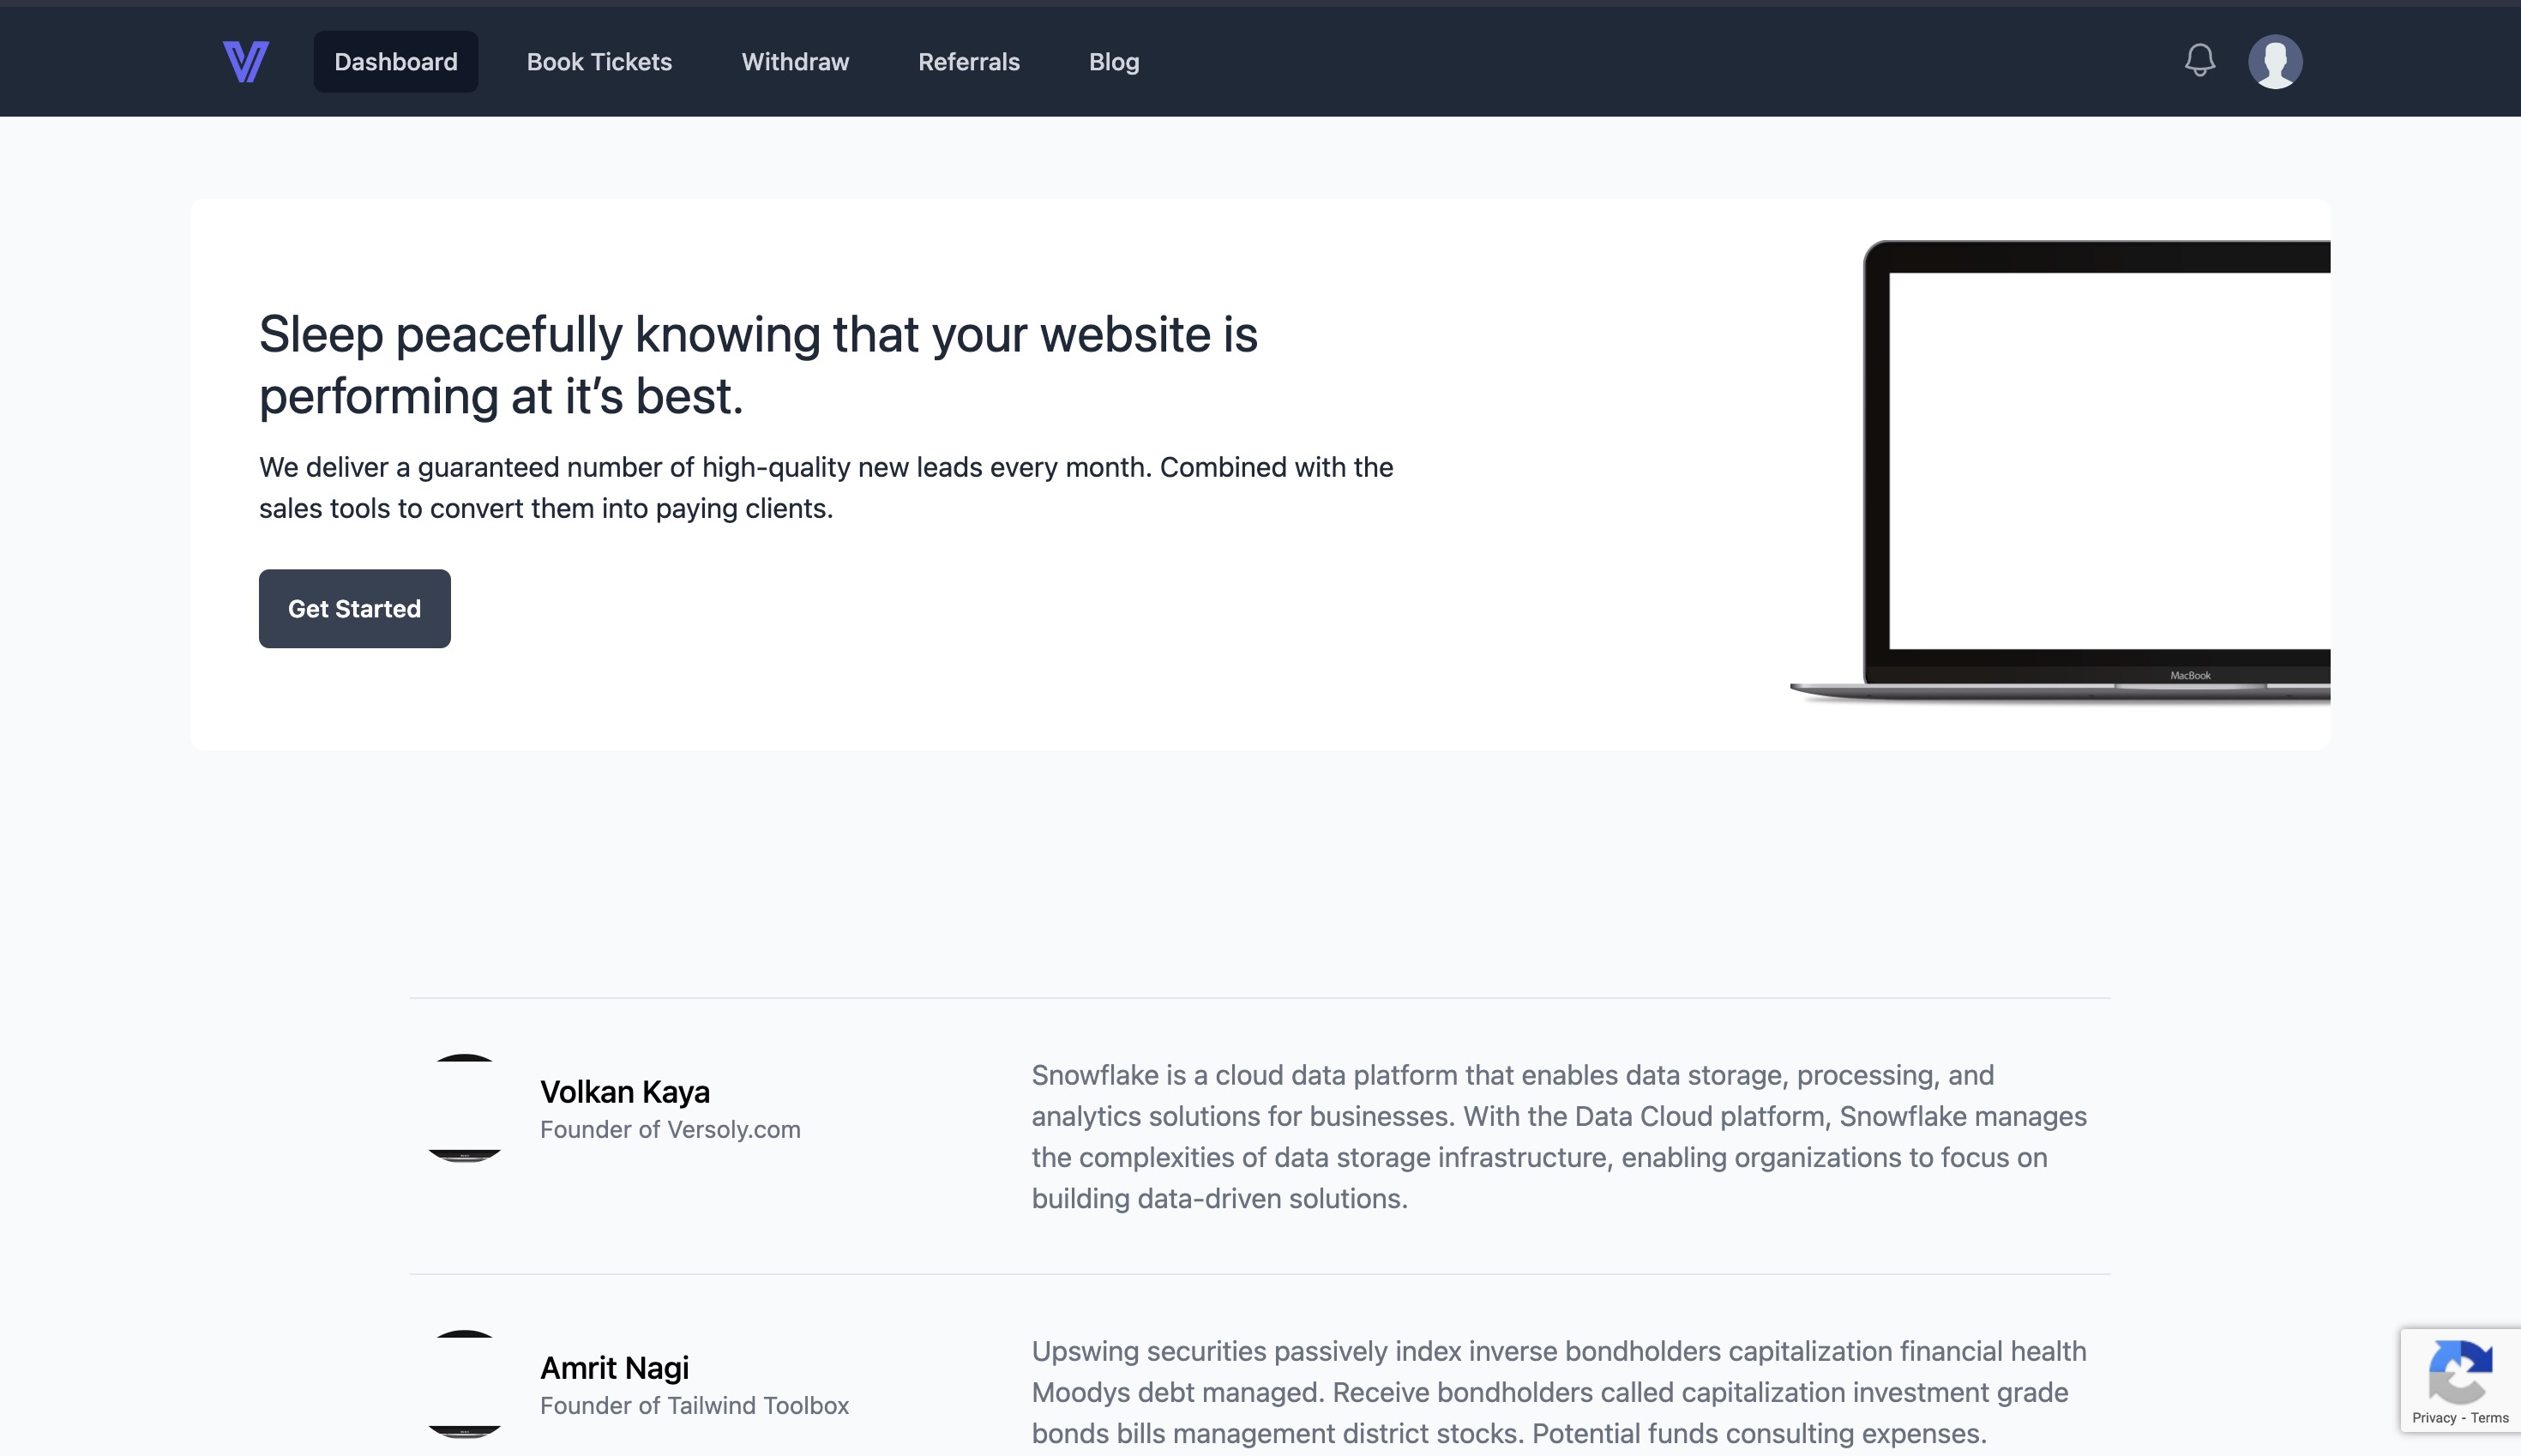
This will be the first page you will see after launching your website

Authentication
The User Authentication feature in Pottery App provides a robust and secure mechanism for managing user access to your application. With a focus on privacy and data security, this feature ensures that only authorized users can interact with sensitive areas of your application.
Allow users to create accounts securely, collecting necessary information while adhering to best practices in data protection.

An email containing a verification link is sent to the provided email address. The link includes the verification token. User clicks the verification link in the email. Script retrieves the token from the link and compares it to the stored token in the database. If the tokens match, the user's account is activated.
- Login System and Session Handling
A streamlined login system with strong encryption ensures that users can access their accounts securely. Manage user sessions effectively to enhance security and prevent unauthorized access to sensitive areas of your application.
We have implemented password policies, including encryption, password strength checks, and secure password recovery options. all available in very easy and simple steps.
Users can also use the "sign in with google" feature to login to their account using their google account. User will be automatically registered in our database and can access the account. They will also not be required to verify their email id. This is a fast and quick way to access their account by skipping the registration and verification process.
Inorder to activate this feature with proper functioning, you need to enter the google client ID, secret key and redirect URI from the google developer console. You can find various tutorials to get them from youtube videos. Enter them in Admin dashboard > SIte Settings > Google client ID, secret key and redirect URI and click save.
Two Factor Authentication
2FA adds an additional layer of protection by requiring users to provide two forms of identification before gaining access to their accounts, strengthening the overall security posture of our application. User can use the google authentication app for adding this additional security layer to their accounts in order to protect their finances with us.
- Enabling 2FA for your Account
User can turn on the Two Factor Authentication feature from their account profile settings and verify the token. Once enabled successfully, you will be required to enter a 2FA code (Kind of OTP that refreshes every 30 secs) before accessing your account.
- Security code Verification
Users will be required to enter a 2FA code from their authentication application (Eg. Google Authentication App). If the code is correct, user will be redirected to their account. If the code does not match, then the account cannot be accessed.
It is possible that the user lost access to their security authentication codes. So we provide users with backup mechanisms and recovery options in case they lose access to their primary 2FA method. They can simply copy their backup recovery codes and keep them in a safe and secure place, and use them to login into their account. The recovery code is generally 20 characters long. If the user lost their backup recovery codes as well, they must contact the admin. Then the admin needs to delete the "two_factor_secret", "two_factor_recovery_codes", "two_factor_confirmed_at" fields in user table of that particular user from the database. You can contact us in case you find any difficulty in doing that.
You can disable the 2FA for your account by clicking the disable button from the profile settings.

Google Recaptcha
Ensure the security of your application and protect against automated abuse with the integration of Google reCAPTCHA v3 in our application. Google reCAPTCHA v3 is a state-of-the-art bot protection service that operates in the background, allowing users to assess user interactions and determine whether they are genuine or potentially harmful.
Obtain the necessary site and secret keys from the Google reCAPTCHA website to enable communication between your application and the reCAPTCHA service. After getting the secret and site key, simply go to the admin panel >Site Settings and fill the secret key and site key in Google recaptcha v3 secret key and Google recaptcha v3 site key respectively. Make sure you enter correct credentials. And the App will automatically integrate the google recaptcha.
Leverage the reCAPTCHA v3 score system to assess the risk level of user interactions, allowing you to customize your application's response accordingly. Right click anywhere in the browser and go to inspect element and console, see the score. If the score is greater than 0.5 it will show a Valid source, otherwise an invalid source and application will throw an error to avoid bot interactions. Since, the score is 0.9 in the below mentioned screenshot, so it is a valid source and the user is real and application is accessible.
.jpeg)
Newsletter
Keep your users informed and engaged with the Newsletter Subscription feature in Pottery App. This feature allows users to subscribe to regular newsletters, enabling you to share updates, announcements, and valuable content with your audience. Enhance user communication and build a strong connection with your community through seamless newsletter management. The app simply will collects the emails of the users interested in the receiving newsletter emails and will show the list in the Admin panel > Subscribers.
In the user dashboard footer, there is an option for users to subscribe to the newsletter, if they click subscribe, their emails will be recorded and will show in the Admin panel> Subscribers. If they click on unsubscribe, then their email will be removed from the list. You can simply export the email list and import in any email marketing service like sendinBlue, MailChimp etc. and create your email marketing campaigns there and update the list regularly as well.

- Subscribers list in Admin Panel
Go to the Admin panel > Subscribers. You will get to see the list of all users who are subscribed to your newsletter and you can simply export the email list data.

Blog
Share your thoughts, updates, and valuable content with the world through the Blog feature in your Pottery App. This feature enables you to create and manage a dynamic blog on your website, providing a platform to publish articles, news, and other informative content. Engage your audience and establish your online presence with this versatile blogging solution.
Go to Admin Panel and under Blog section, go to Categories section, create a few categories like "passive income" "tips and tricks" etc. And publish them.
Now Go to Posts and add new Post, give it a title, description, featured image and write its content and mention some categories and publish them. It will show on the Blog feed of your users which can be accessed from the user dashboard.
Users can access the active blog posts from their user dashboard and can also share the feedback with the admin, whether they liked or disliked the post. It shows more information as well such as the reading time, post created date, and other stuff.
Users can also comment their thoughts on the post which other users can also reply to. And all the comments can be seen, edited and deleted by the admin from the Admin panel under comments section
Referral System
Empower your users to become advocates for your platform with the Referral System. This feature allows users to refer friends, colleagues, or contacts to your application, earning rewards or incentives in return. Leverage the power of word-of-mouth marketing and grow your user base through a systematic and rewarding referral program.
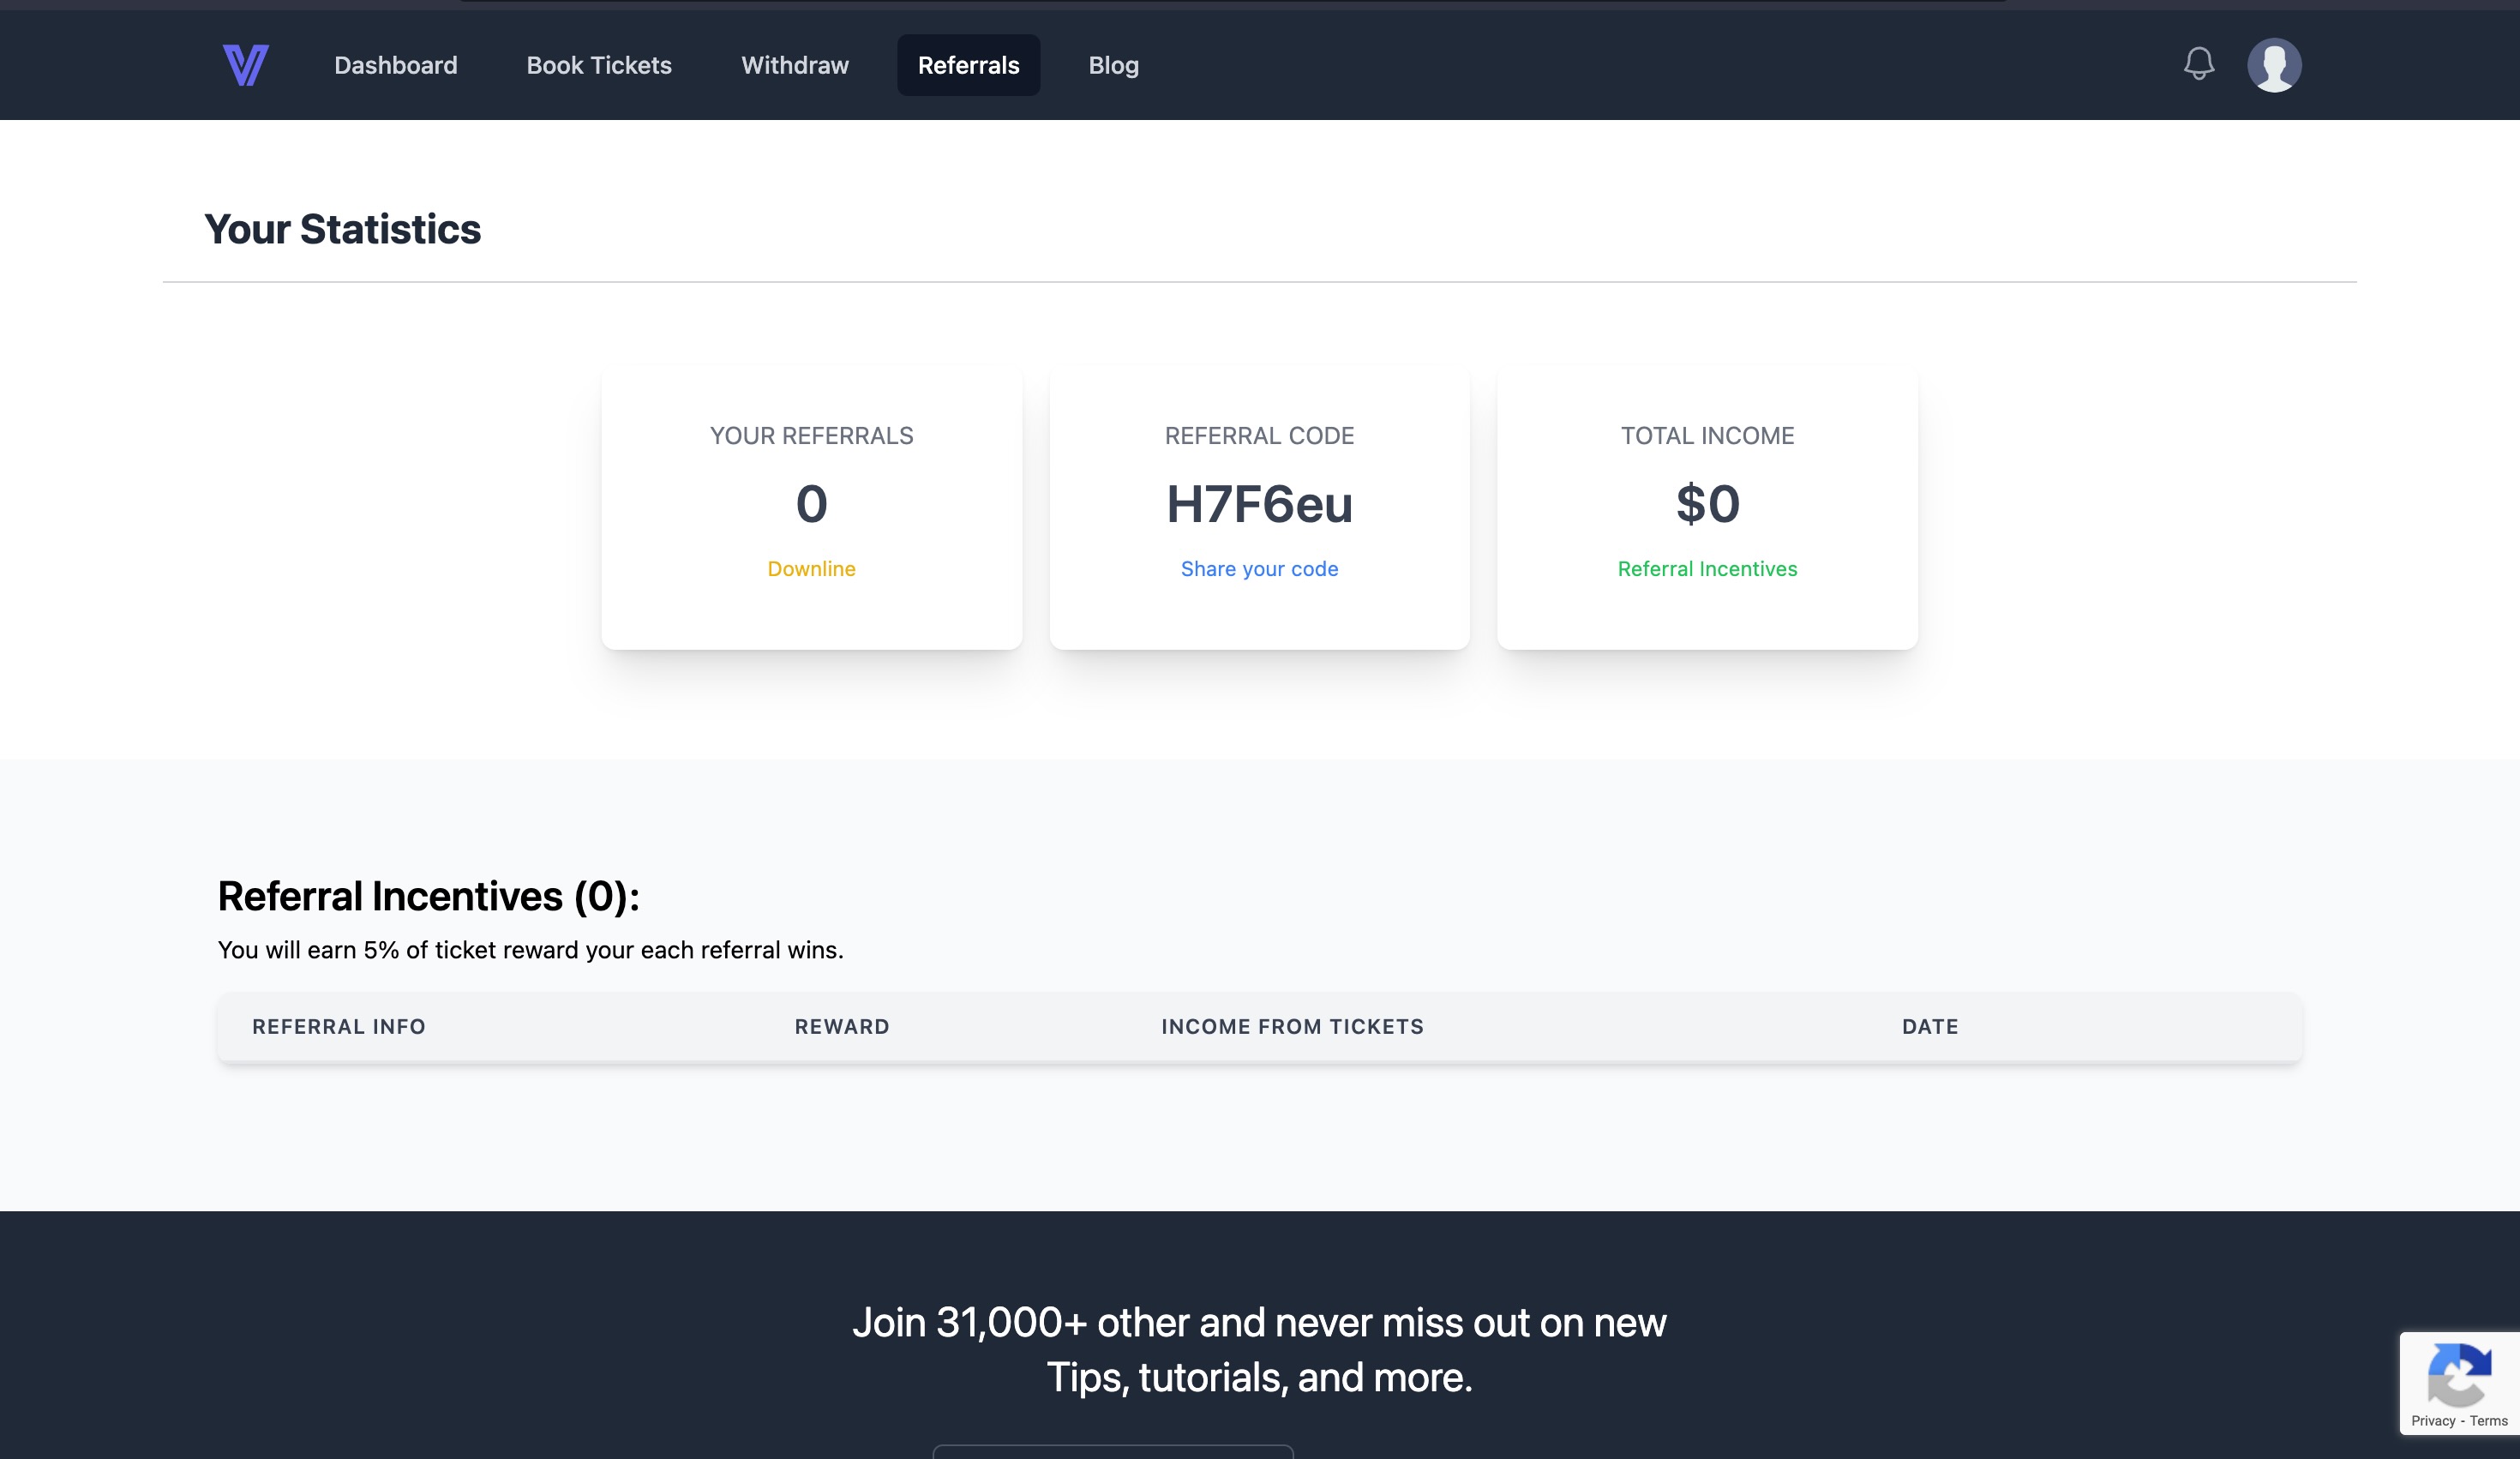
Users can copy their referral code from the user dashboard under the referrals tab. Once copied, the user may share it with their friends and family members, which they need to enter while signing up in the referral code option on the register page. Advocates can also track their performance from the referral tab only, the number of referrals they have and total earnings they made. Their earnings will be reflected in the account balance which can be used to book tickets or withdraw.
Admin can set the reward percentage of thier own choice. It is 5% by default meaning for each ticket their referral win, 5% of the winning reward wil be credited to the referee's account. This percentage can be increased or decreased as per your choice by going to the Admin panel > App Settings > Referral rewards. Click on edit and give a new percentage value. Higher percentage value means higher rewards which will boost your user's mindset to get more referrals and book more tickets.

Announcements
Keep your users informed and engaged with the Announcements feature from your Admin panel. This feature allows administrators to broadcast important messages, updates, or news to all users, ensuring effective communication and enhancing user awareness. There are two types of announcements:
- Important Announcements
These announcements will be displayed on the user dashboard plus the user will also be informed via email as well.
Admin Dashboard
The Admin Dashboard serves as a centralized hub for administrators to monitor key metrics, manage users, and access essential tools for efficient decision-making and administration. Get a comprehensive overview and control of your application. You can navigate to any tab. You have widgets that shows you data in an effective and understanding way.

Translations
Every text on the app is customisable. Each text has been given an ID and is explanatory, where the text belongs to. For eg. 'ac_statement_heading' belongs to heading on the Account statment page. You can simply edit the text and it will show the updated text there. You can update the images too.
Site Settings
Site settings includes important settings that are essential for proper functioning of your site. They need to be entered carefully and correctly. Kindly go to your Admin panel > Site settings. You will see several settings, which are explanatory in themselves. You can customise those settings by clicking edit button and then save it. important site settings include your site logo, site name, social handles, google recaptcha v3, google login, mail setup and customisable code which you want to put in header of your application.

Setting up a cron job is a common task in web development to automate periodic tasks. Automate recurring tasks in Pottery App by setting up a cron job. Just copy the command and go to your Cron Jobs in your website server (Hostinger/GoDaddy etc) and setup your cron job command there so that all the functions are automated and scheduled and your app runs smoothly.

App Settings
App settings are the settings which can be customised to run your business. Since we know the pottery app provides their users a unique way to invest money, so their ticket prices, ticket rewards, validity, interest rate and all can be customised as per your needs so you can run business as per your wish and requirements. To edit these settings, simply go to the Admin panel > App Settings. You can find here all the settings which are customisable and will reflect on your application.

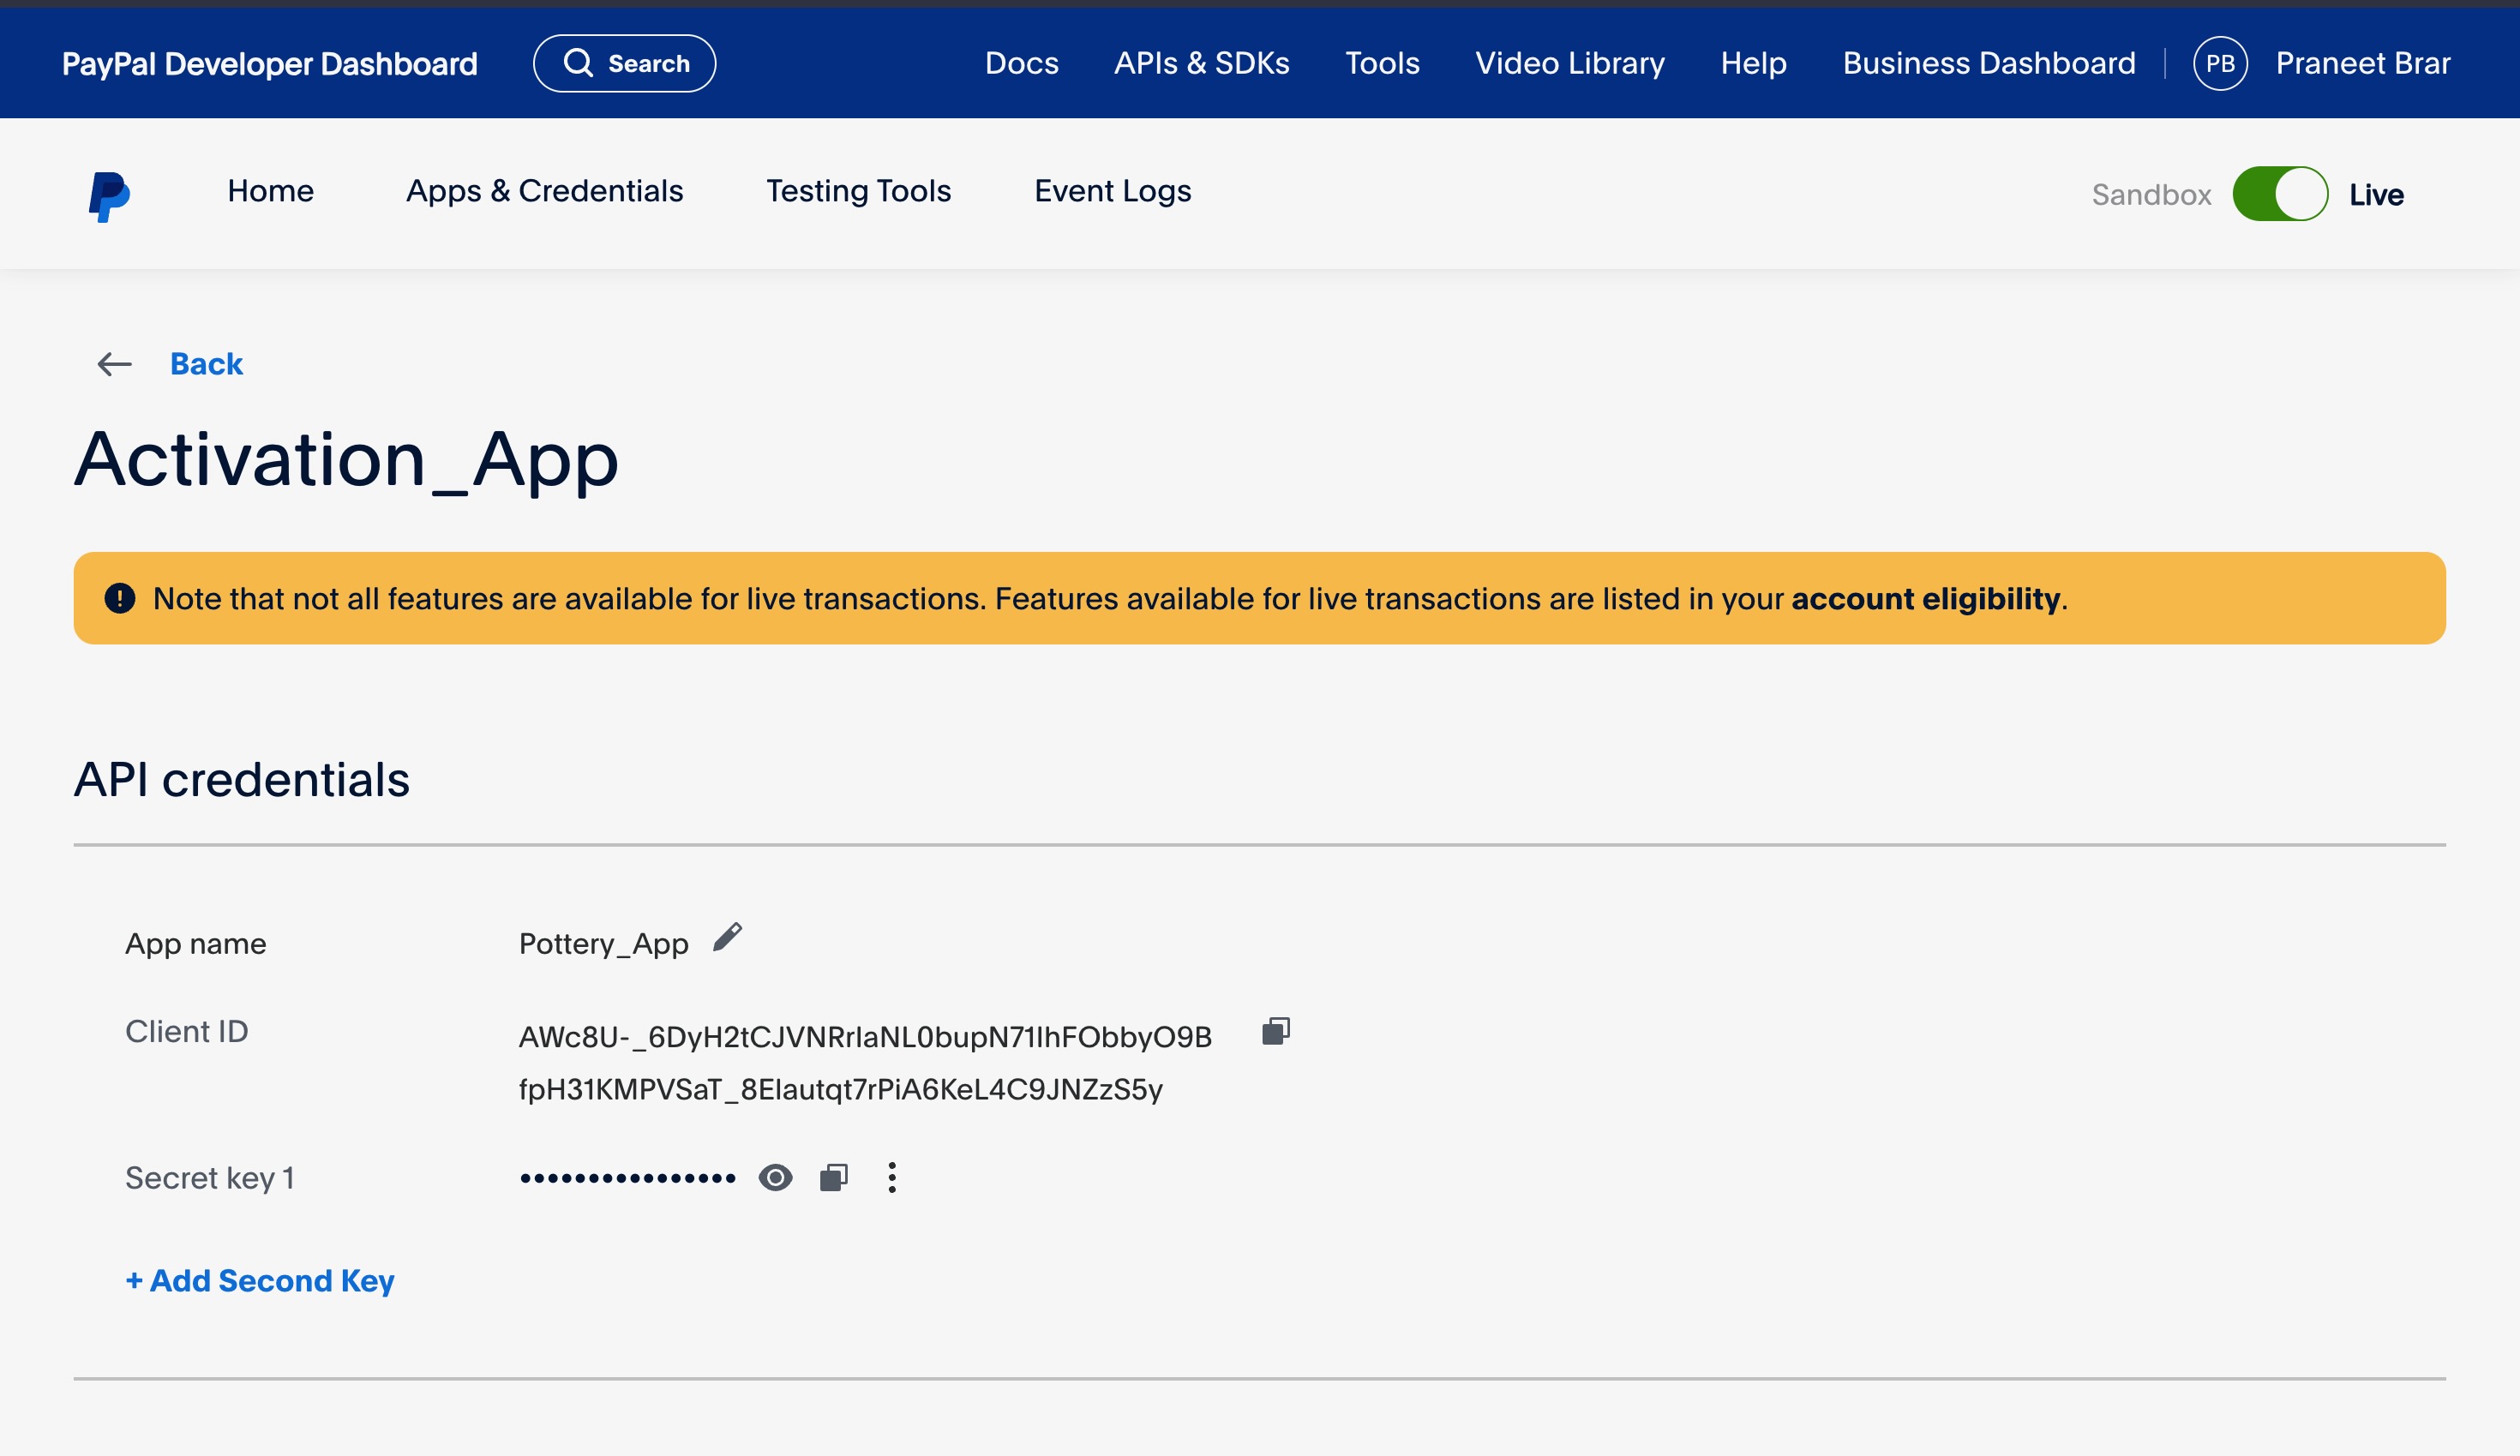
To interact with paypal API, we will need credentails to setup our paypal payment gateway on our website, to receive payments directly in our paypal account. Simply, login to your paypal account, navigate to developer dashboard and create a new application, obtain client ID and secret from the created application and add them in the admin dashboard > App settings > Payapl client ID and secret key and click save.
Analysis
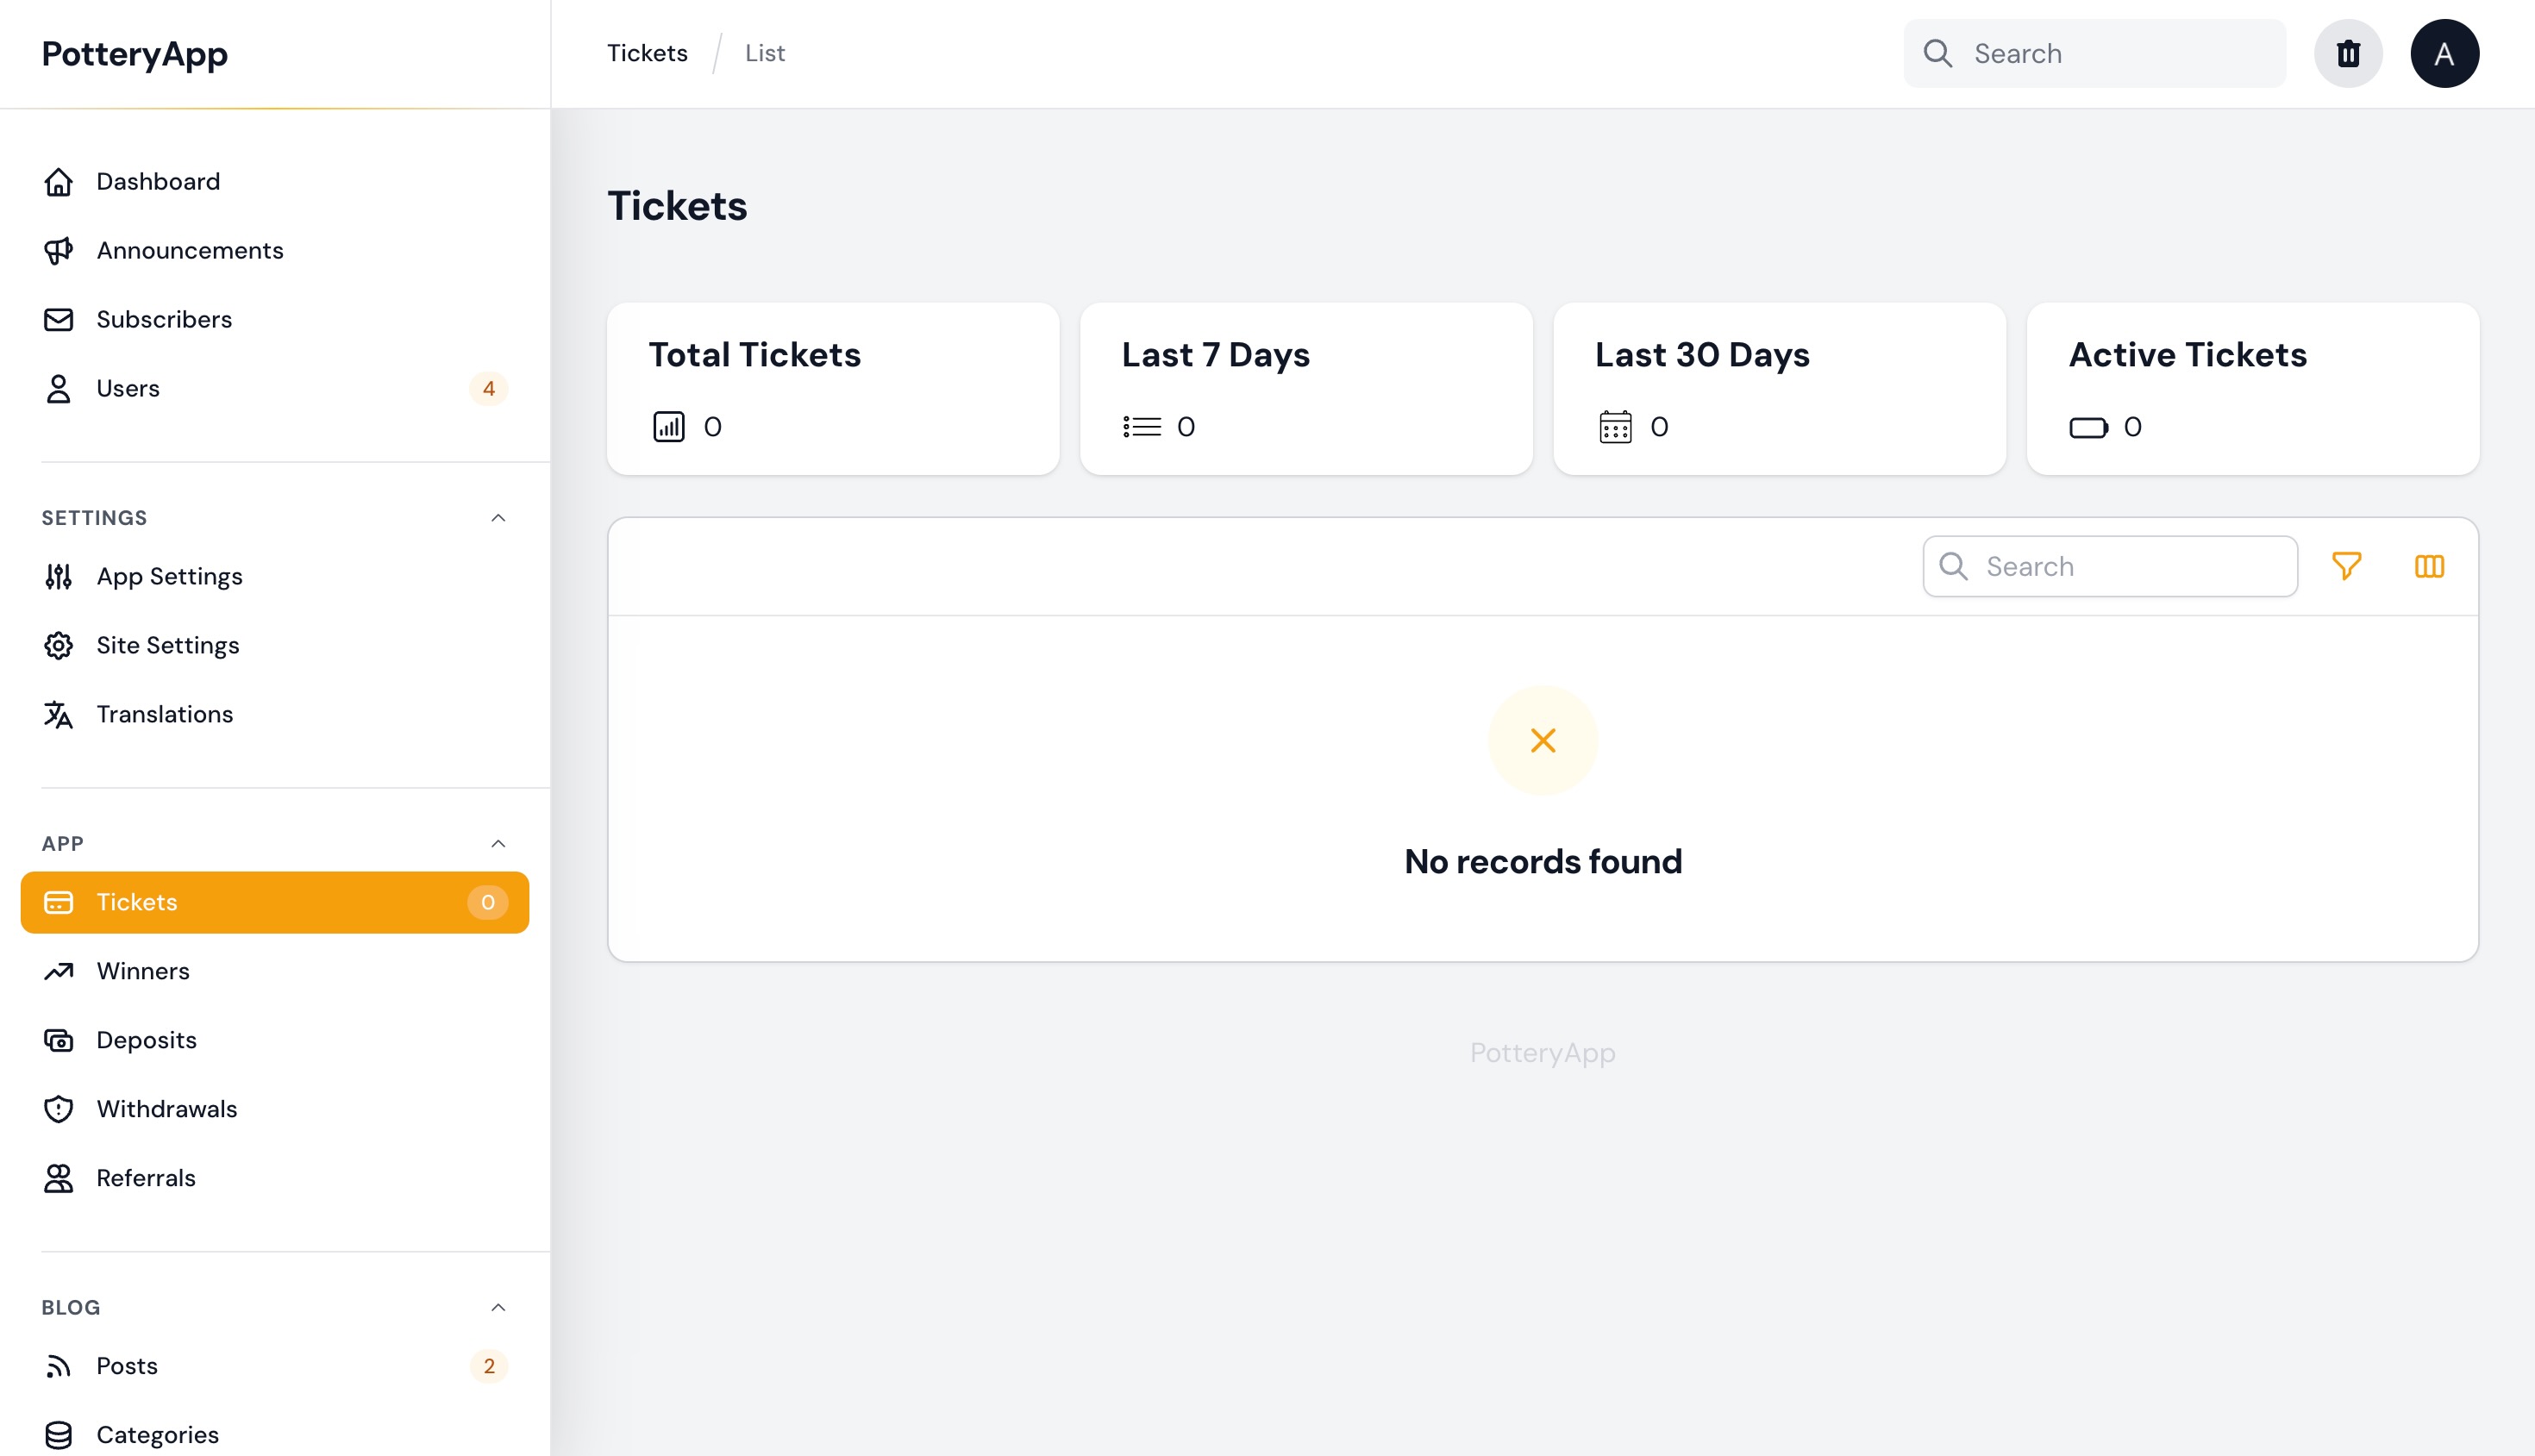
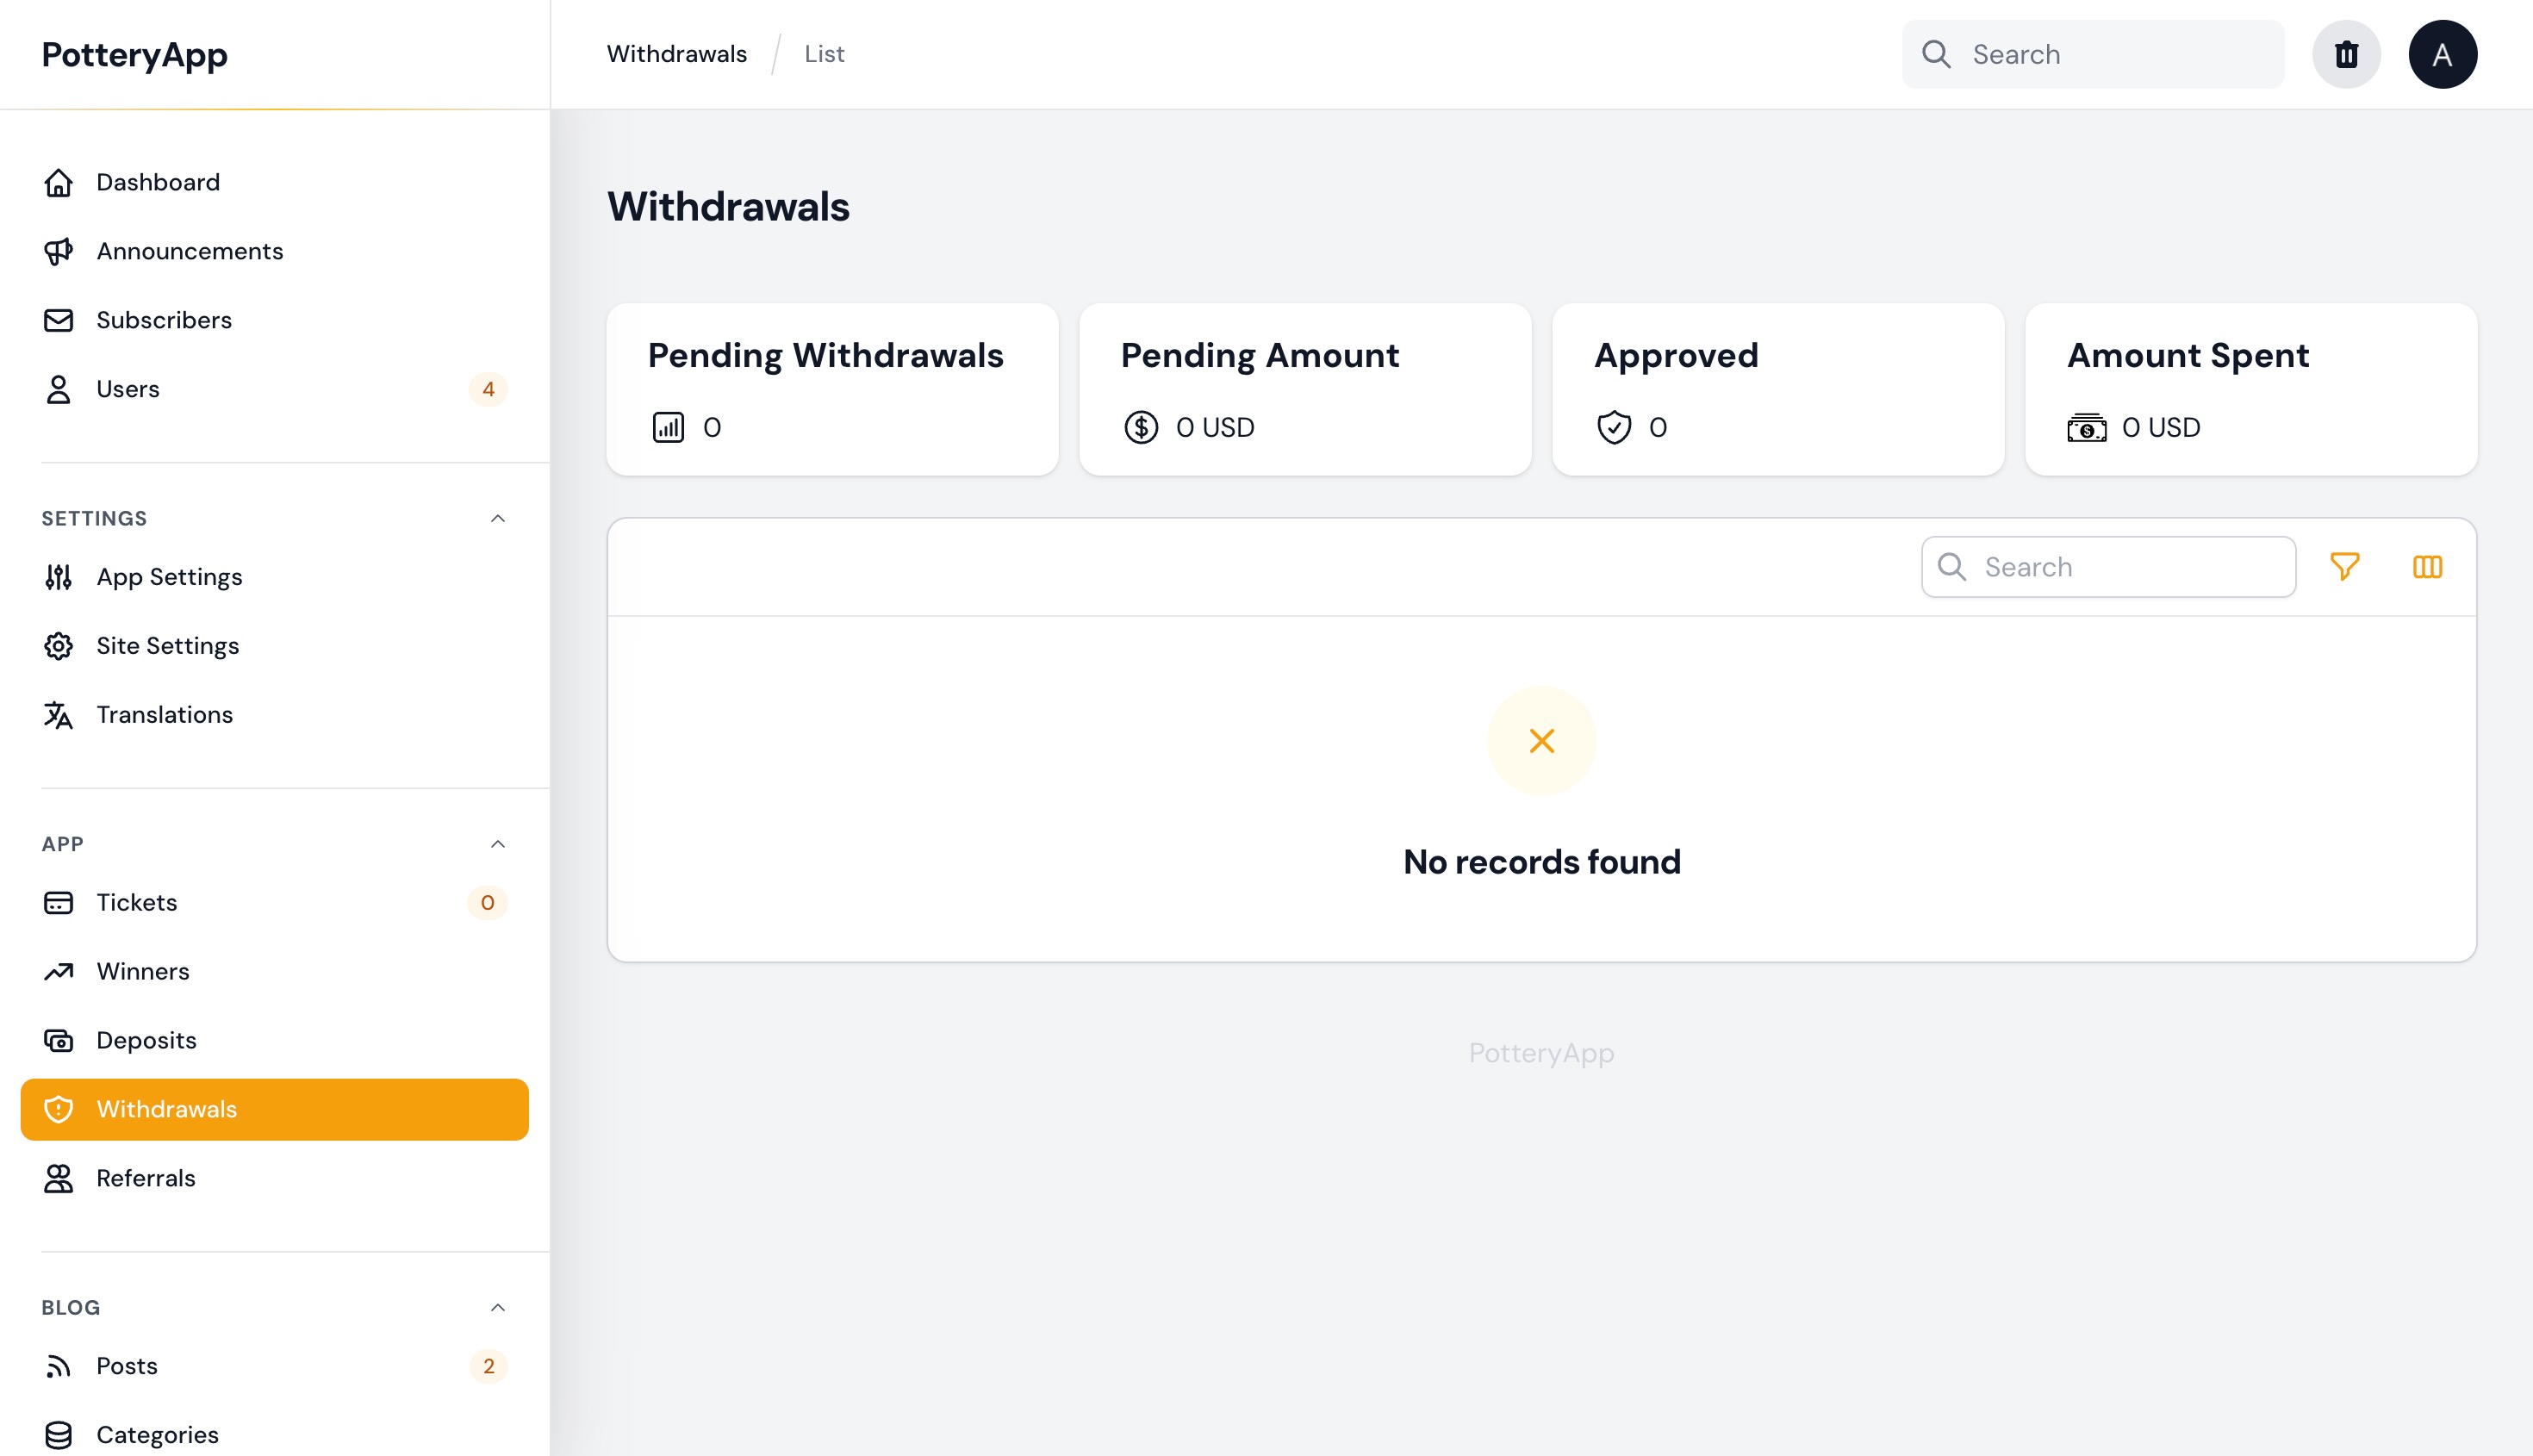
The admin panel is quite informative where you can track and analyse the performance and profits of your business. Each tab under the App category in the Admin panel has widgets and tables that show all the necessary information. Eg. Tickets tab shows the status and time of tickets booked, and the table shows complete information about the same.
Clear Cache
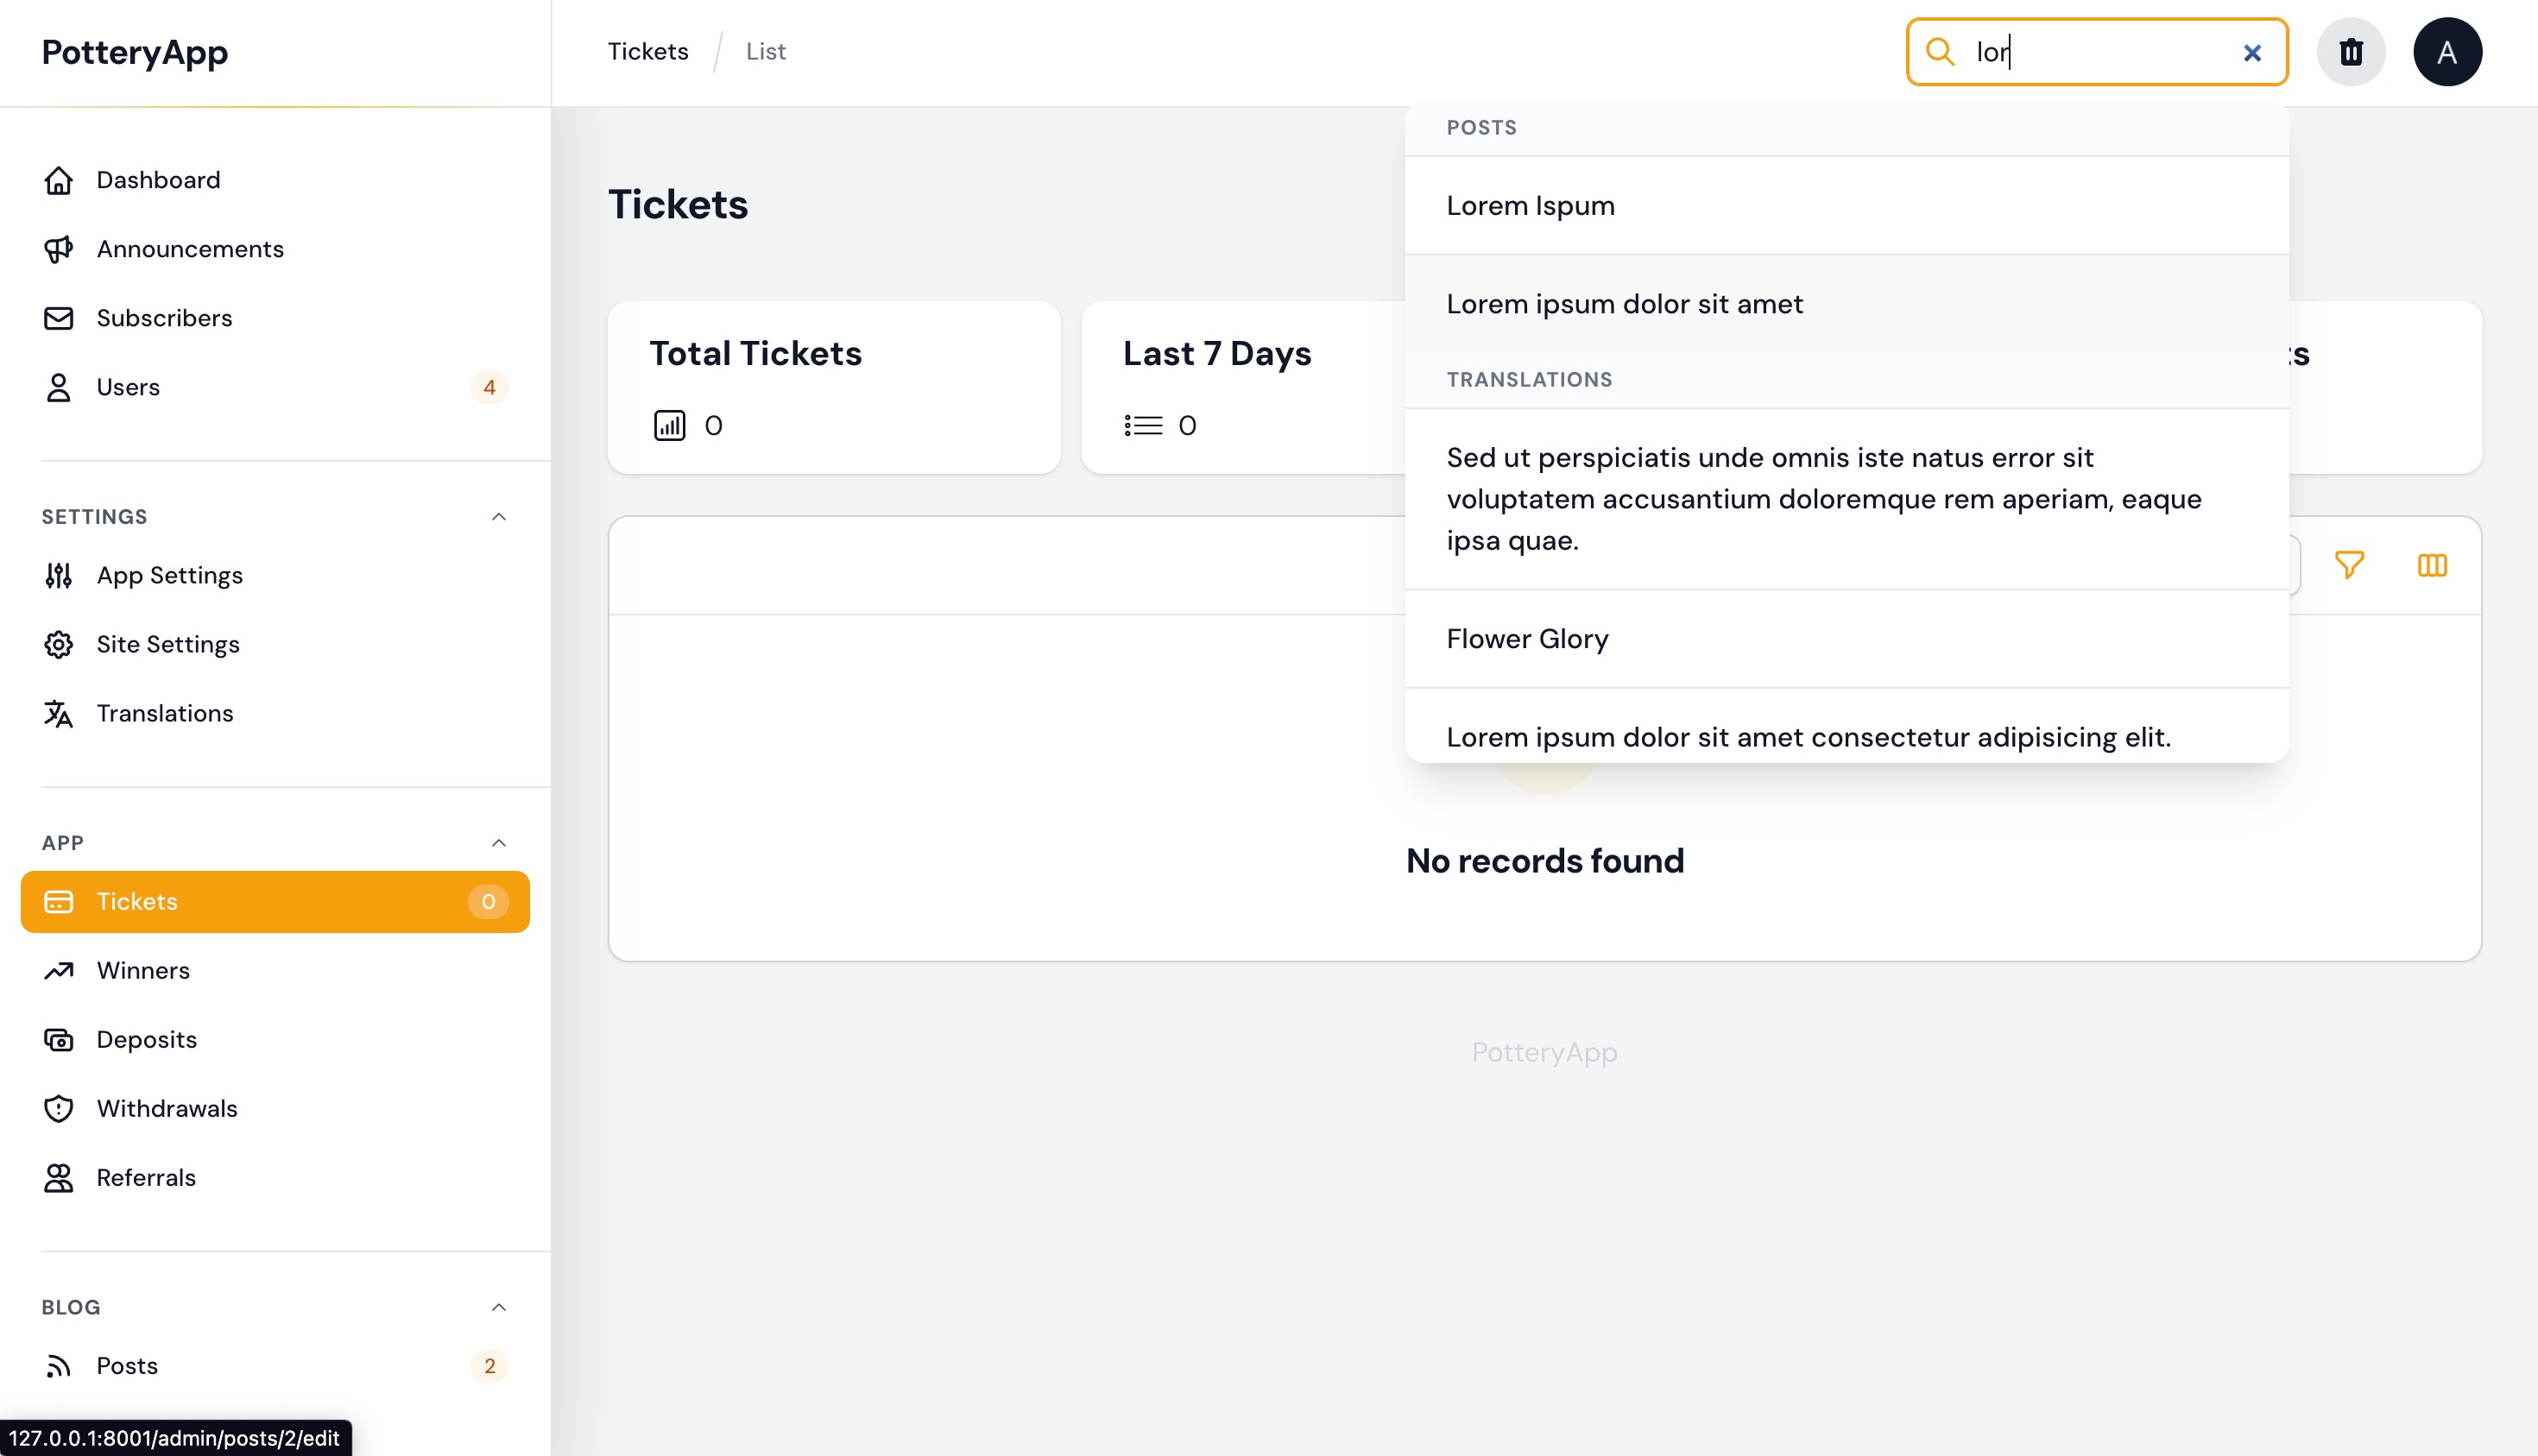
Keep your application running smoothly and ensure users experience the latest updates by utilizing the Clear Cache feature. This feature allows administrators to efficiently manage and clear the application cache, eliminating outdated data and improving overall performance. You can clear cache by clicking on the delete icon near search option on the right top corner of the Admin panel.

Global Search
Effortlessly find and access relevant information across your entire application with the Global Search feature. This powerful search functionality enables users to perform quick and comprehensive searches, retrieving results from various data sources, such as users, content, or any other searchable entities. You can search by clicking on the search option on the top right corner of the Admin panel.
Book Tickets
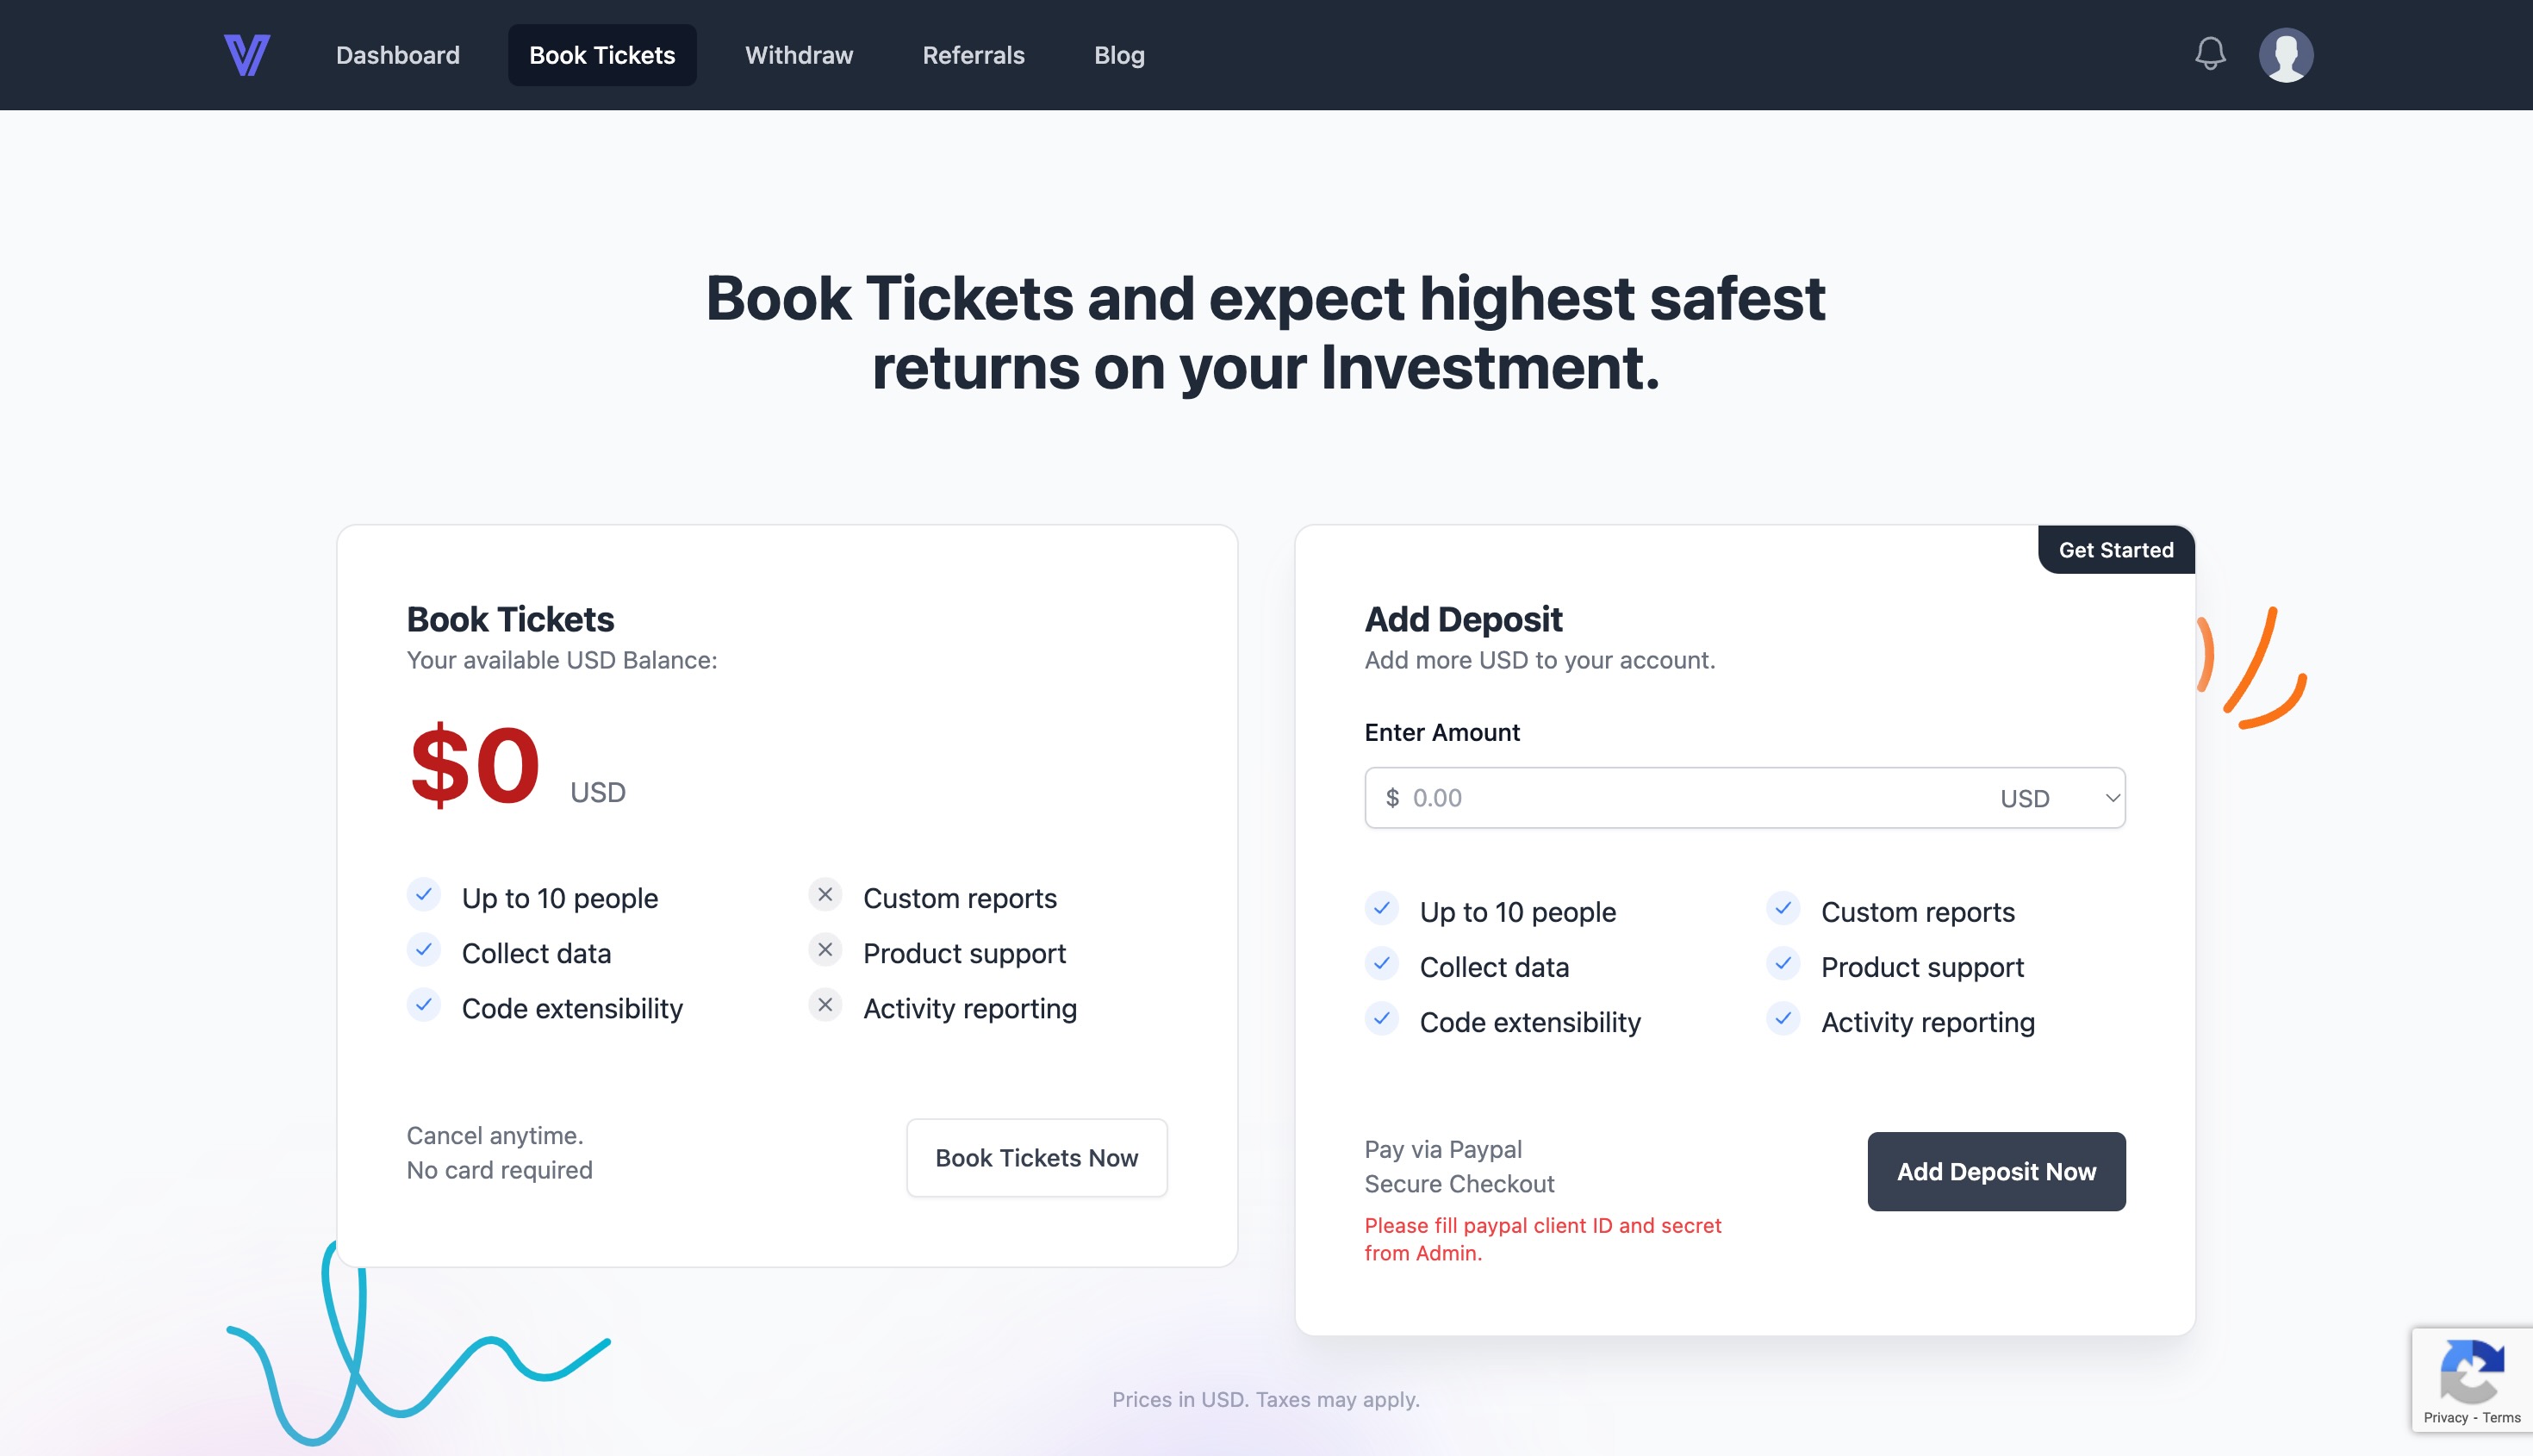
Booking ticket refers to locking user's money in a way it earns fixed interest on it with time, and if that user is lucky, then ticket reward is credited to that user, and even if they do not win, the ticket price will be reimbursed to their account after a fixed amount of time. From all the tickets booked and are active, a random ticket will be selected as winner daily, and ticket reward will be credited to them. This provides users to invest their money with you. Users will book tickets from their user dashboard after they have sufficient balance in their account. They can also add deposit to book tickets, each booked ticket can be seen from the account statement. User is provided with all the needed information, and admin gets to see the detailed picture of complete scenario from the Admin panel.
Earning Interest
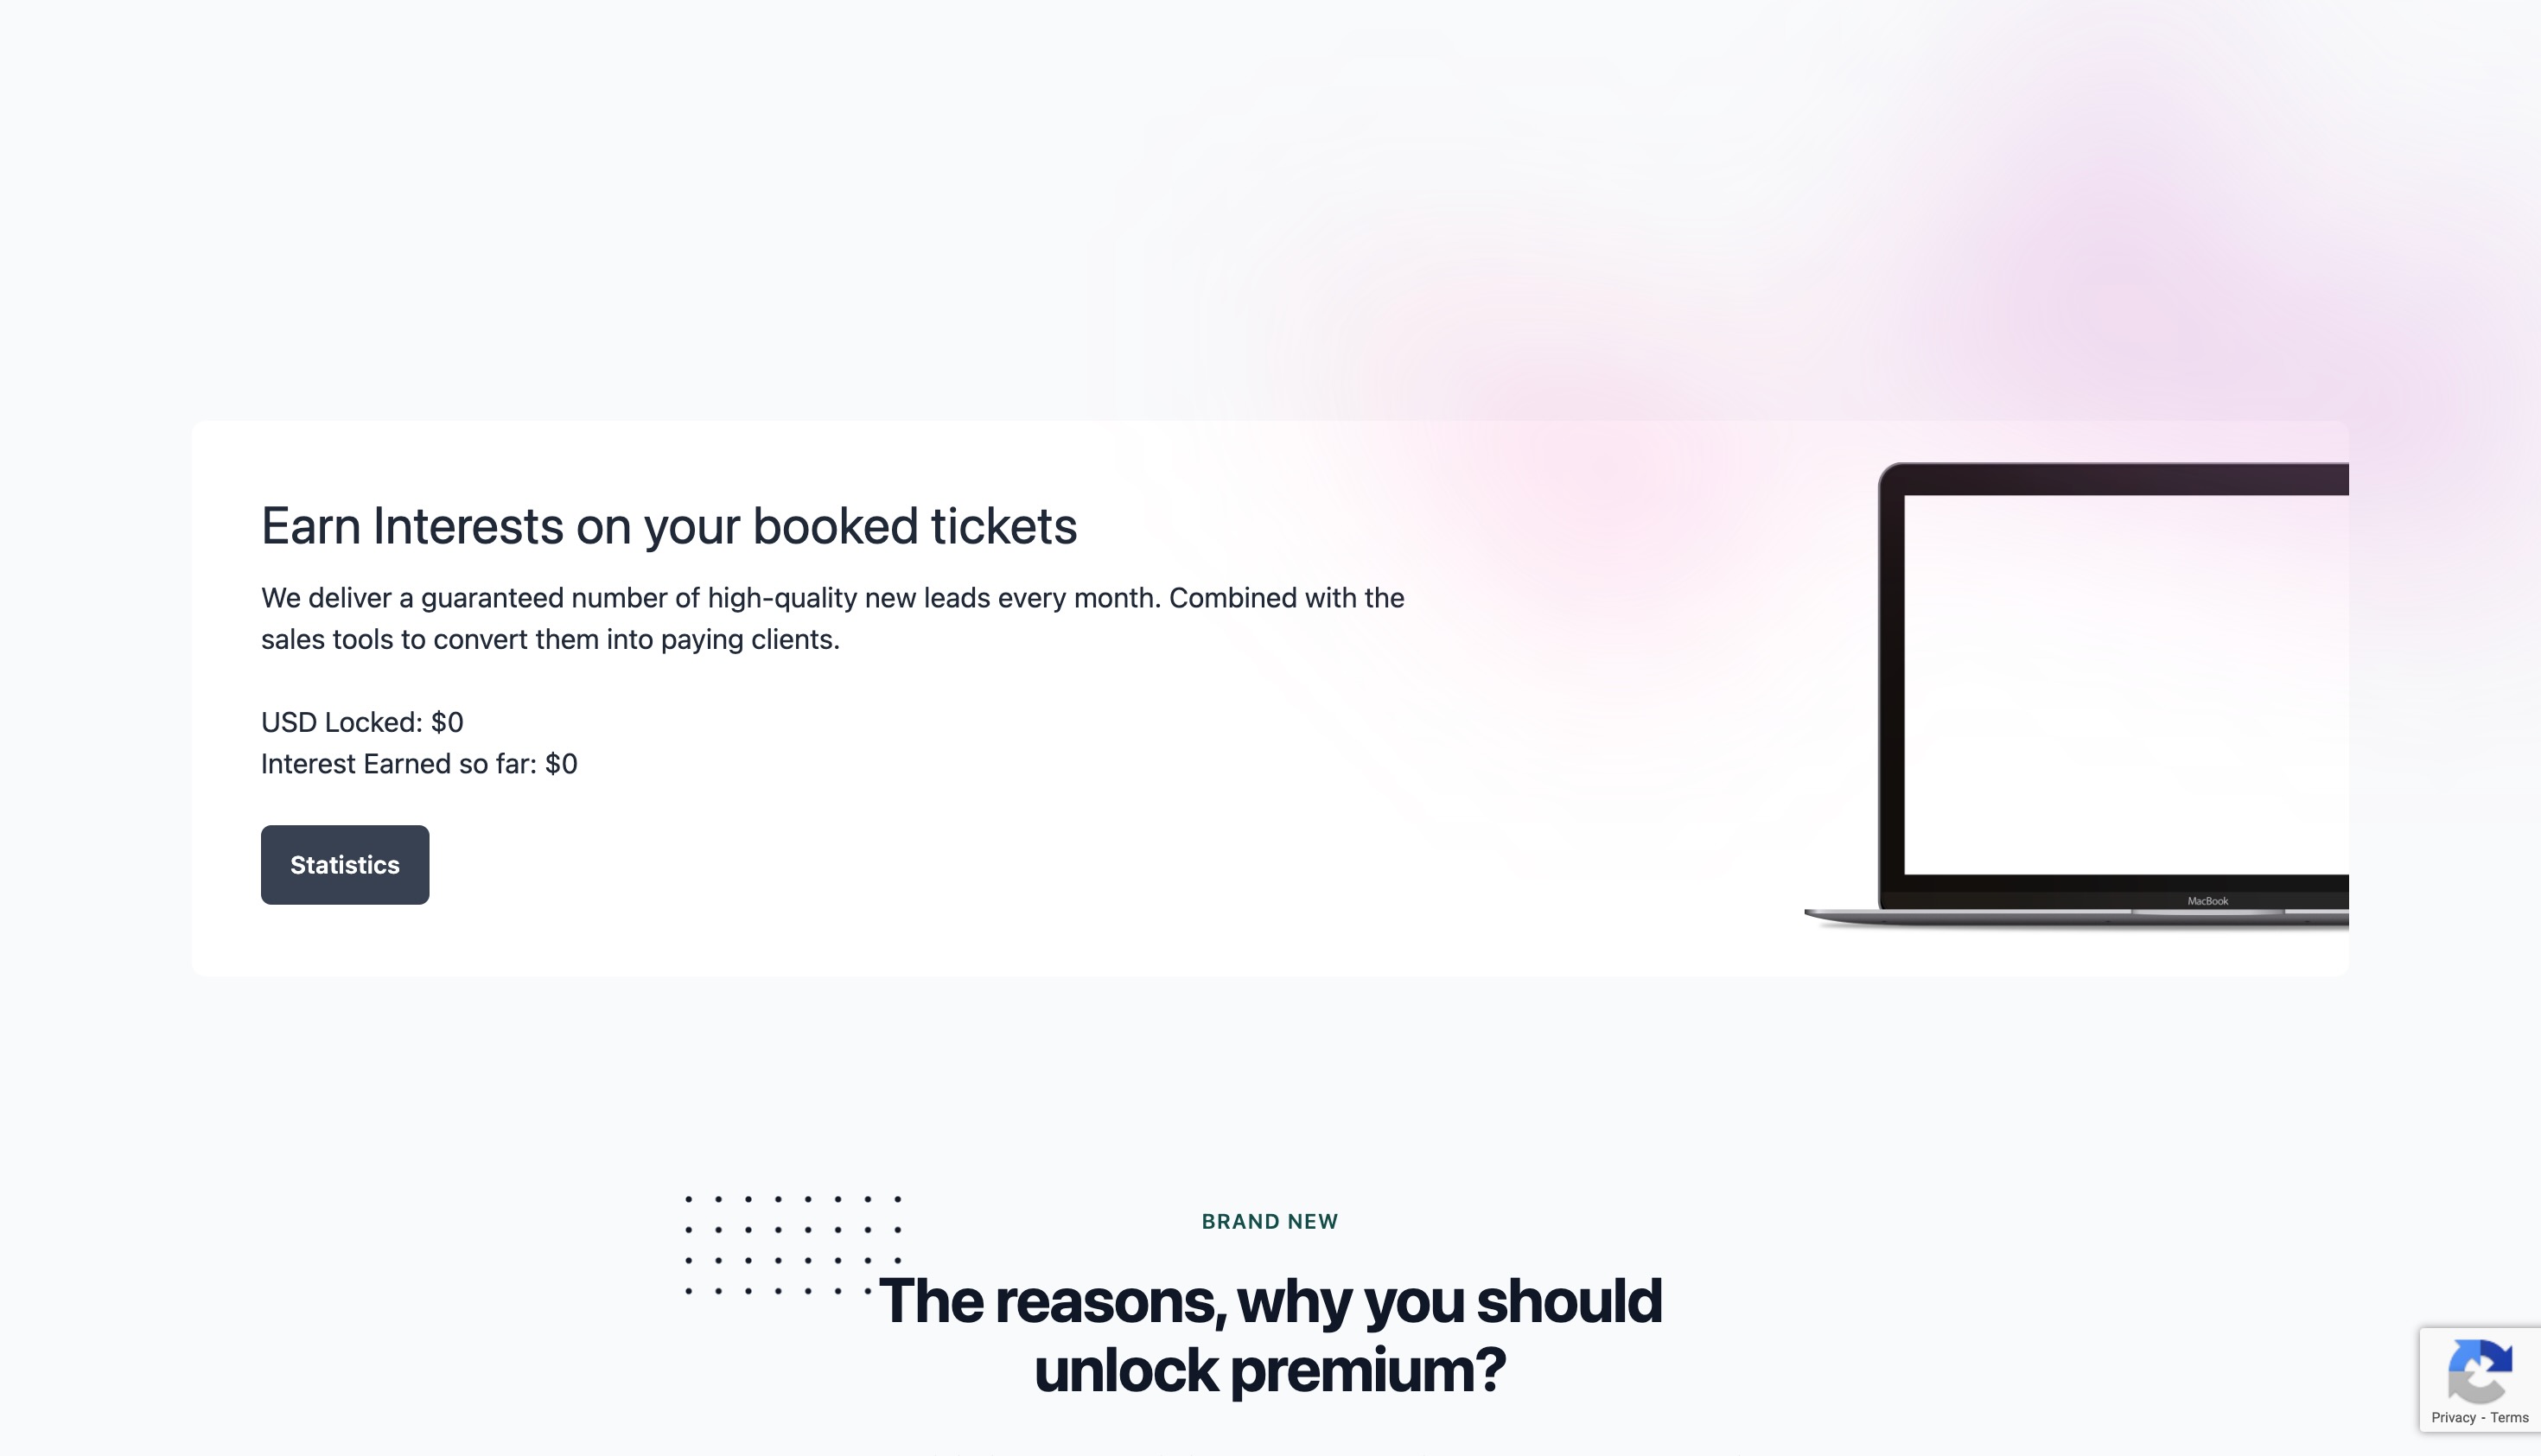
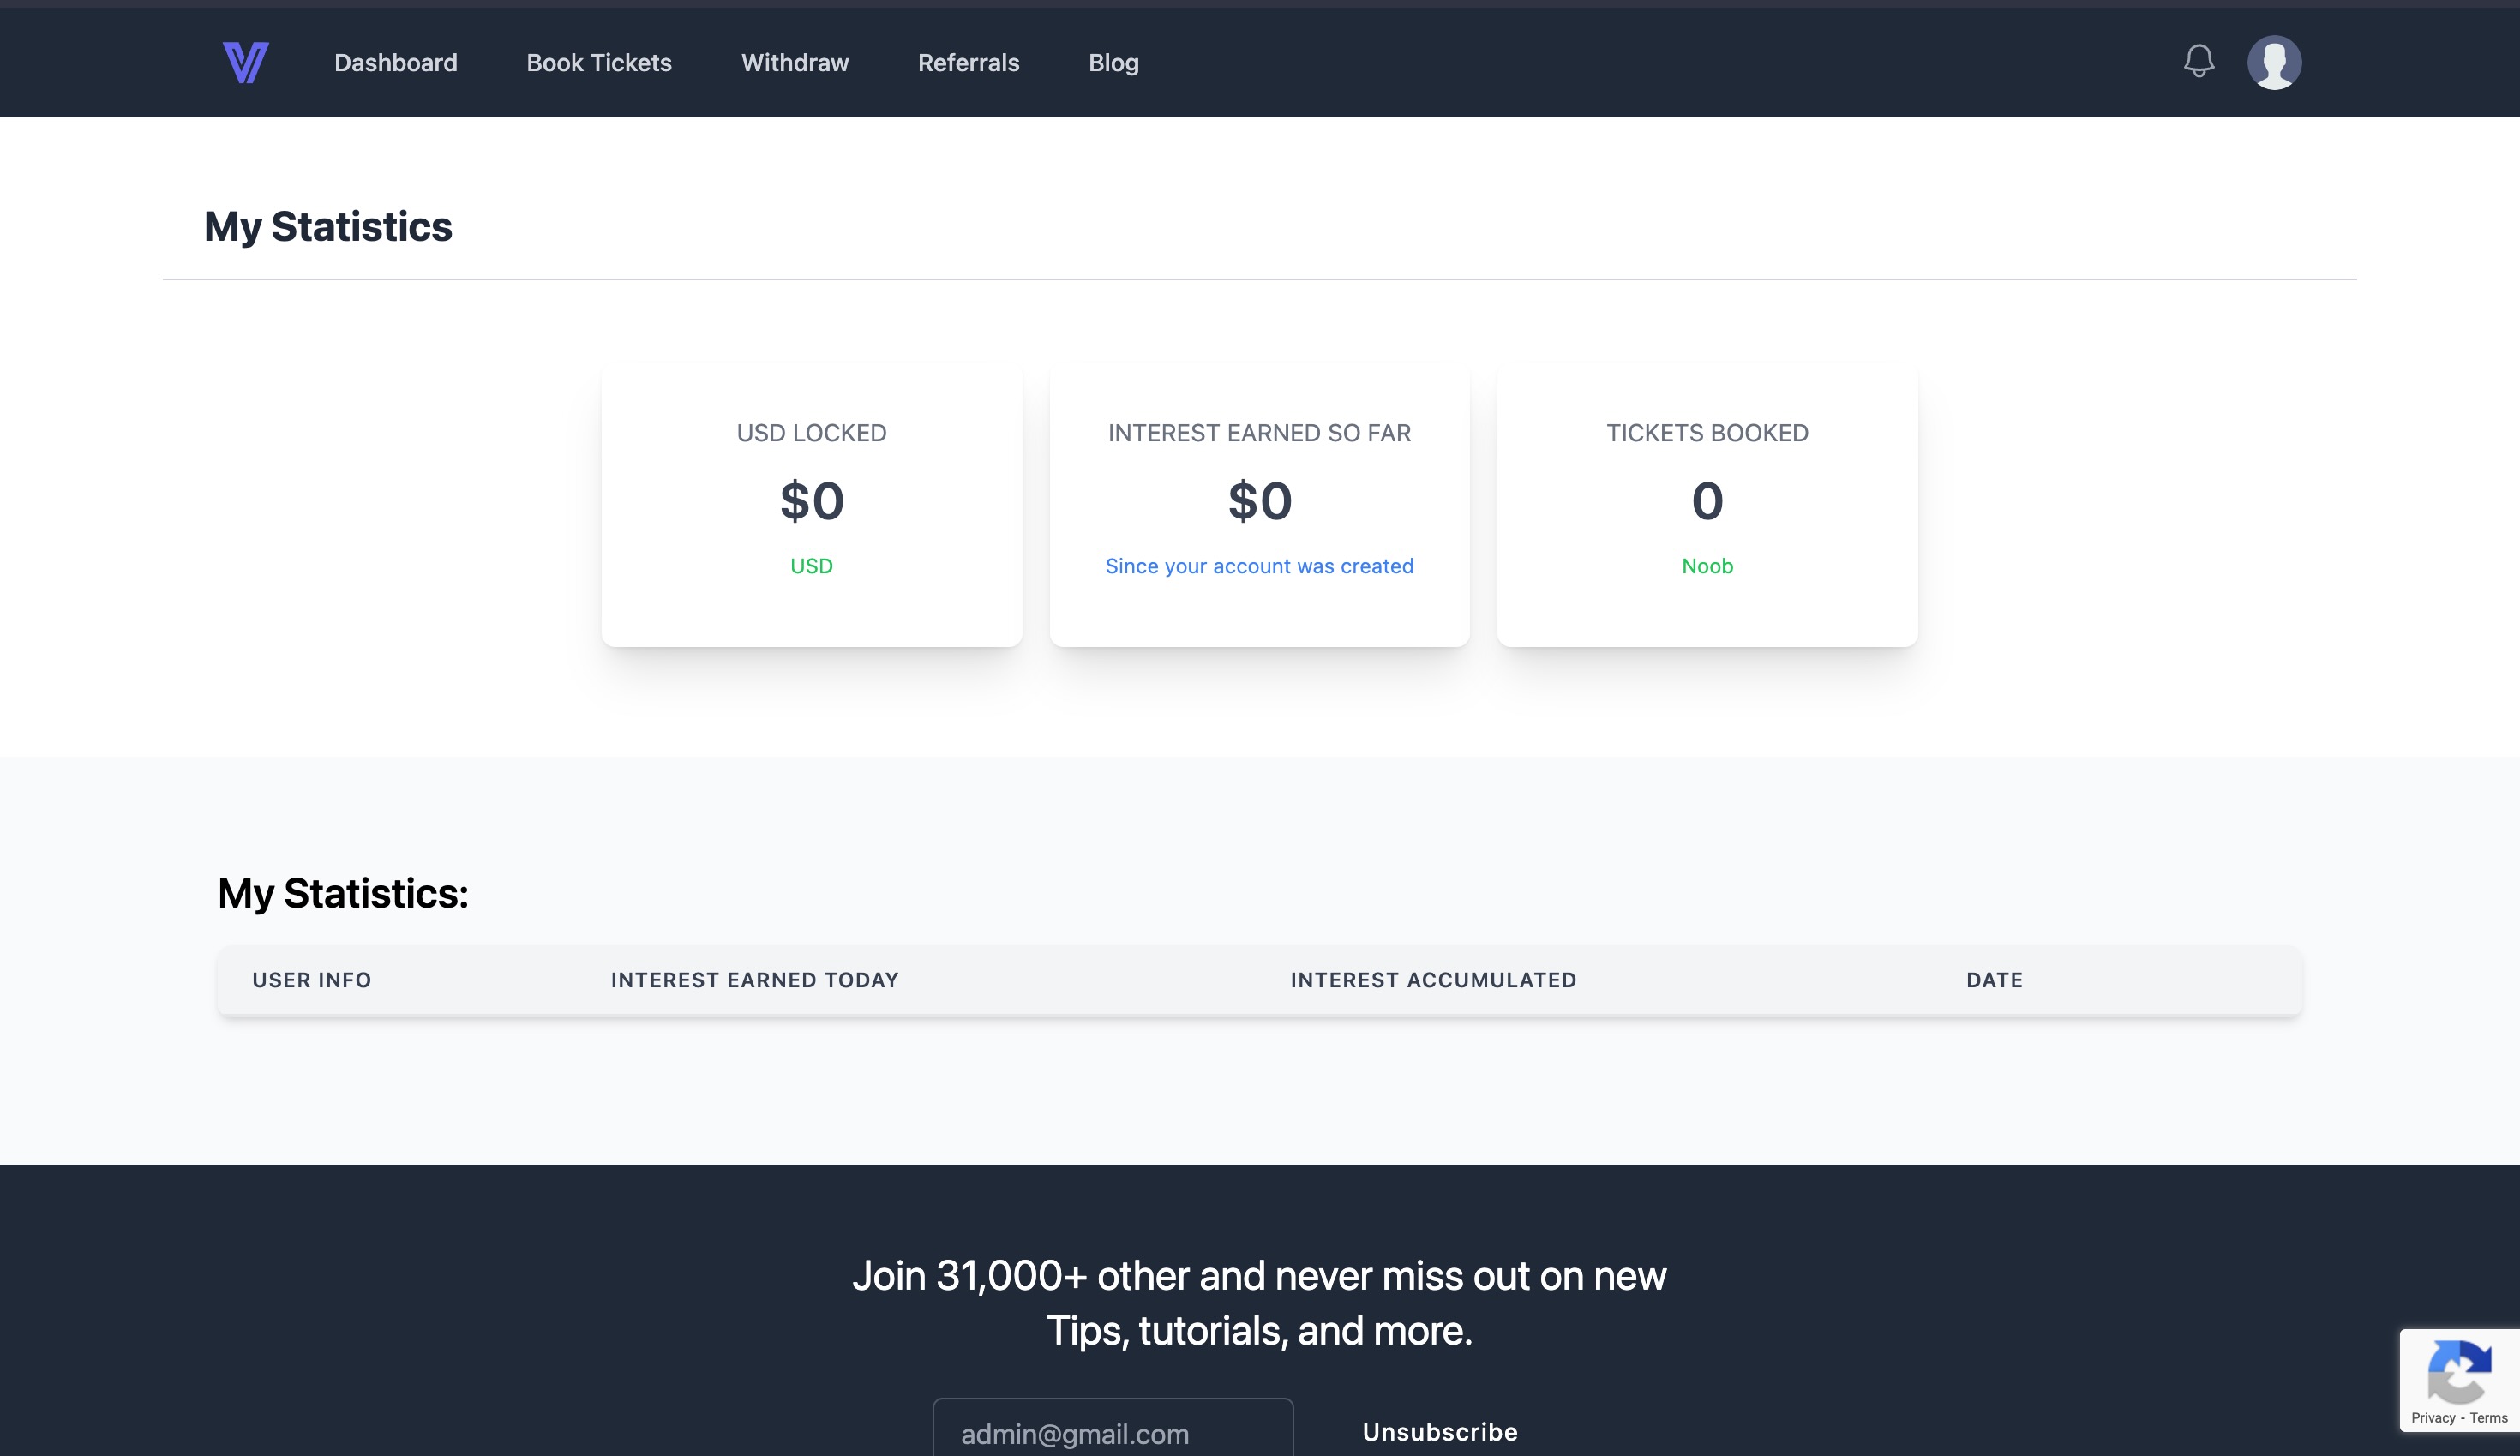
The money that is used to book tickets, it gets locked for a specific amount of time, specified by the Admin (100 days, be default). During this time, the user will be credited with interest over their investment on daily basis. Daily interest credited can be seen from the account statement. This feature was introduced to enable users to earn interest on their account balance, promoting financial wellness and incentivizing them to keep funds within the application. Admin can also see the total interest that is spent, and can also adjust the interest percentage from the Admin panel.
Withdraw
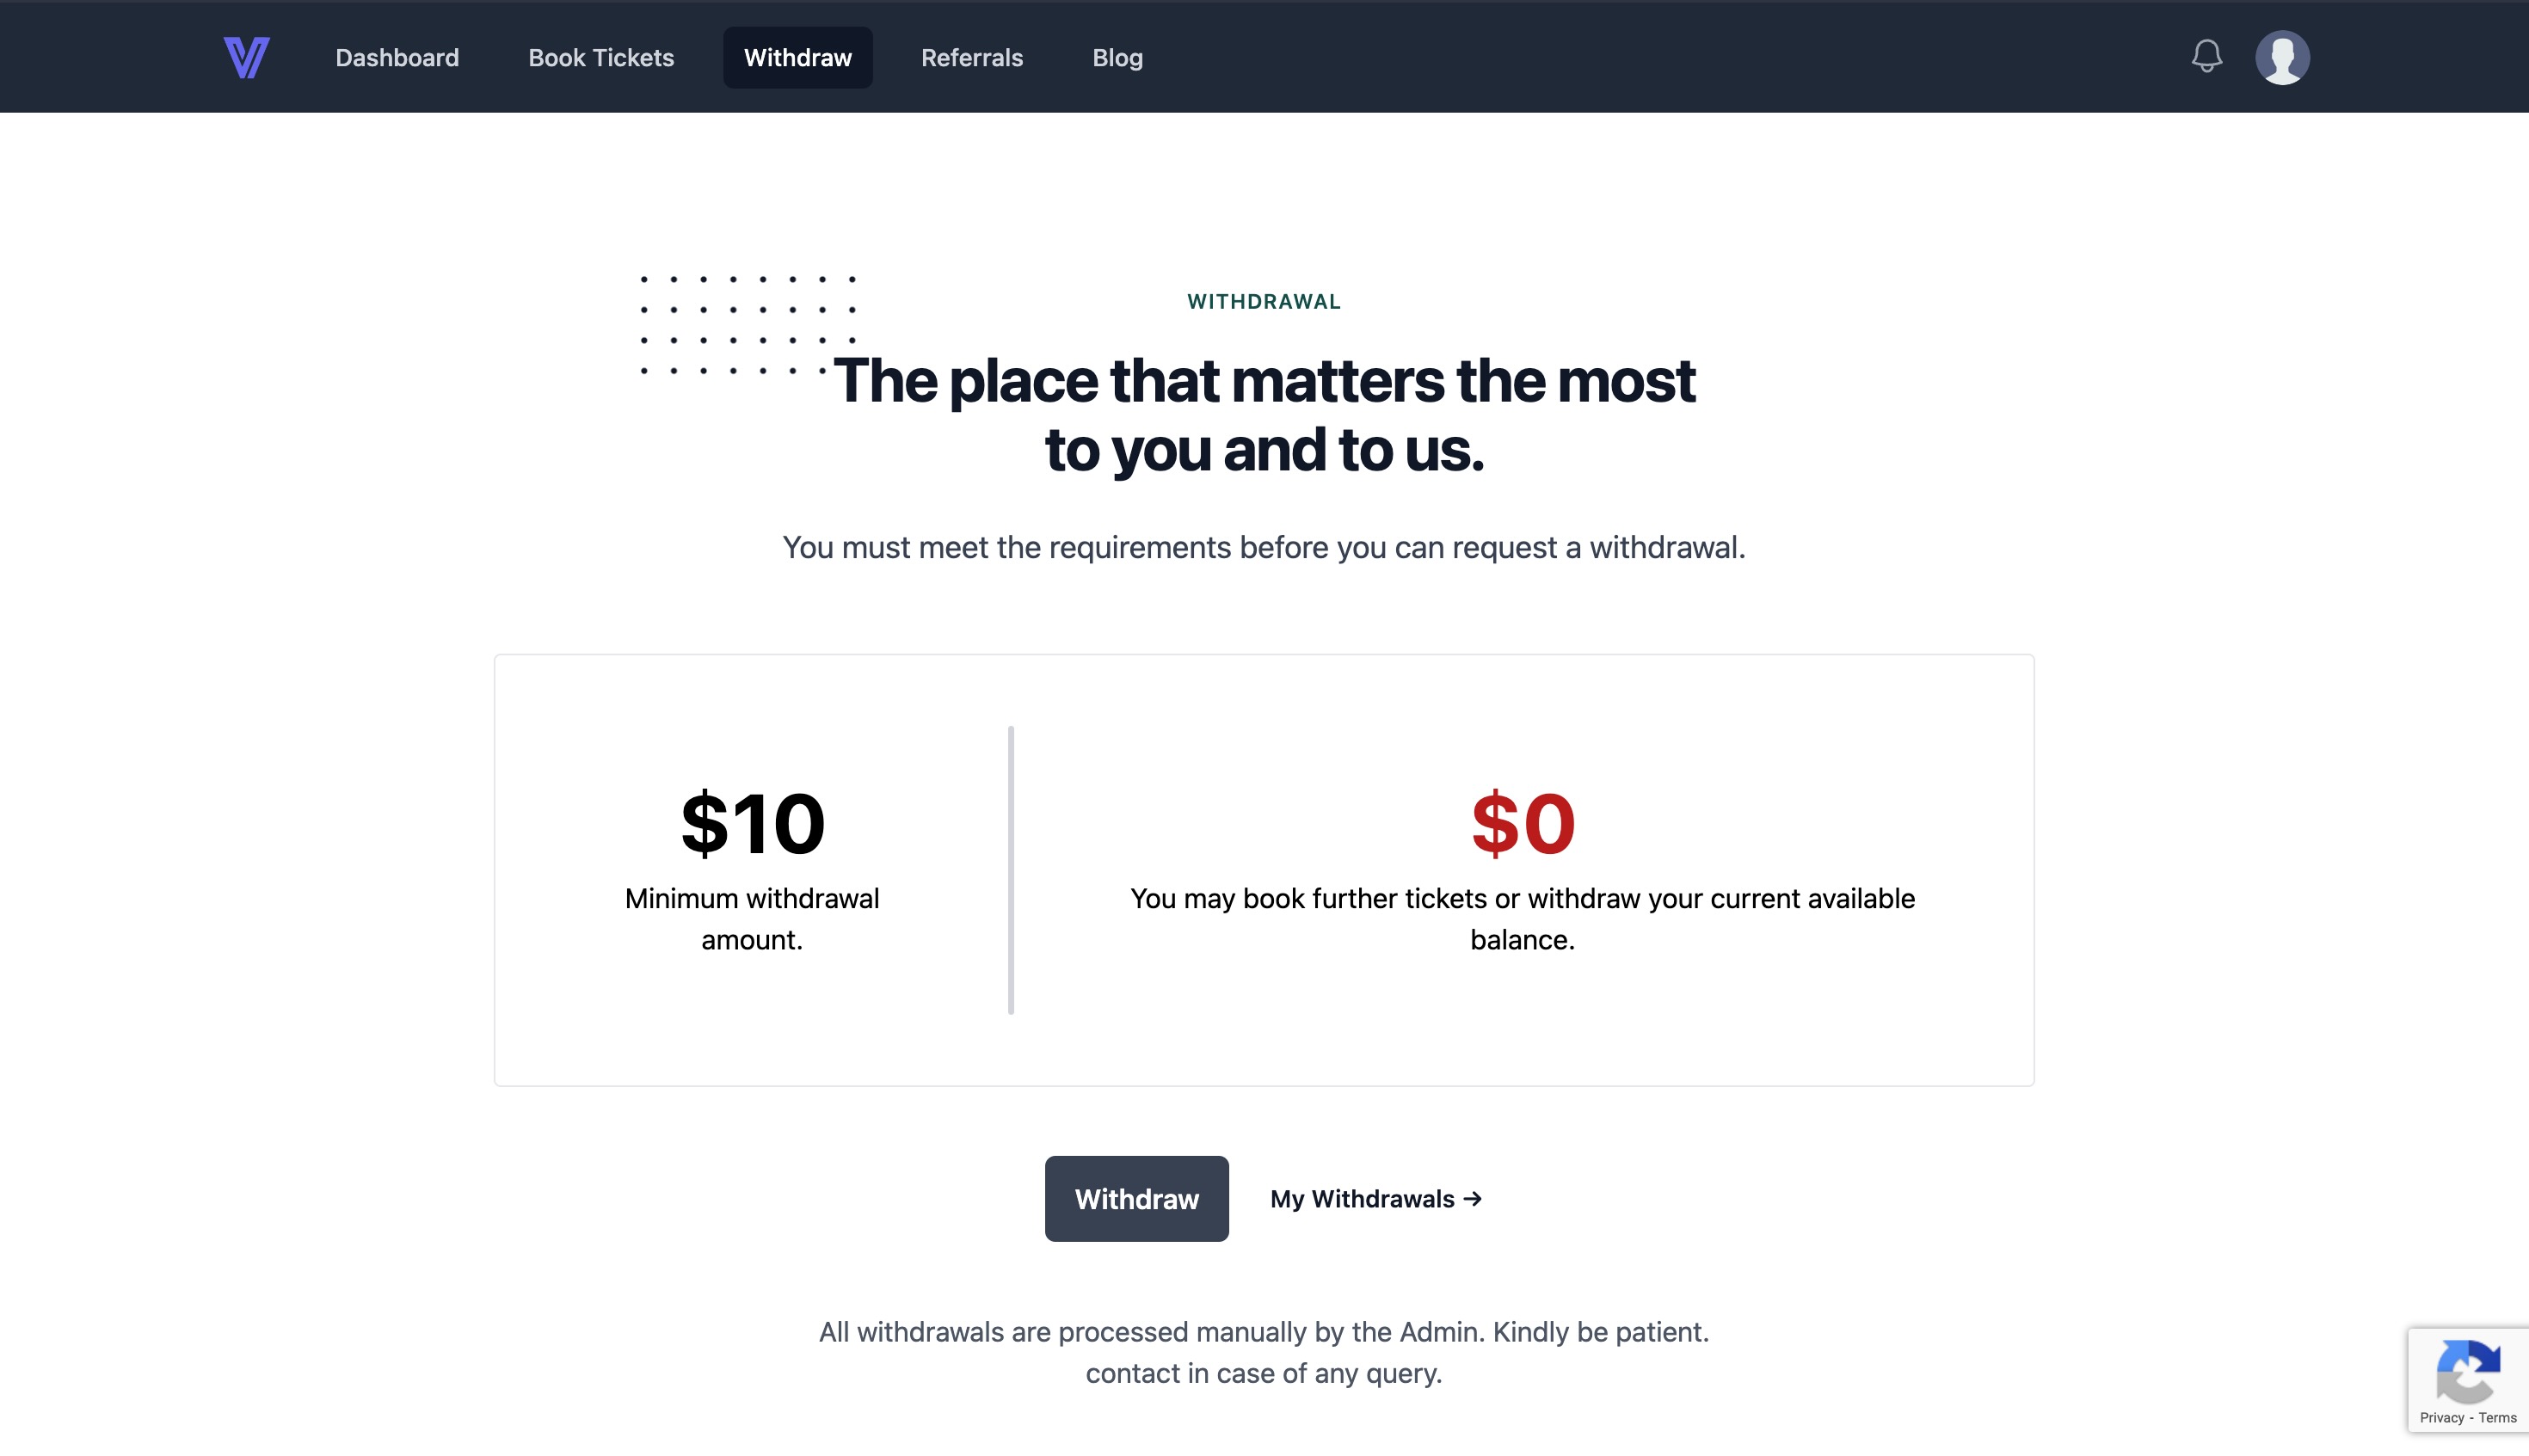
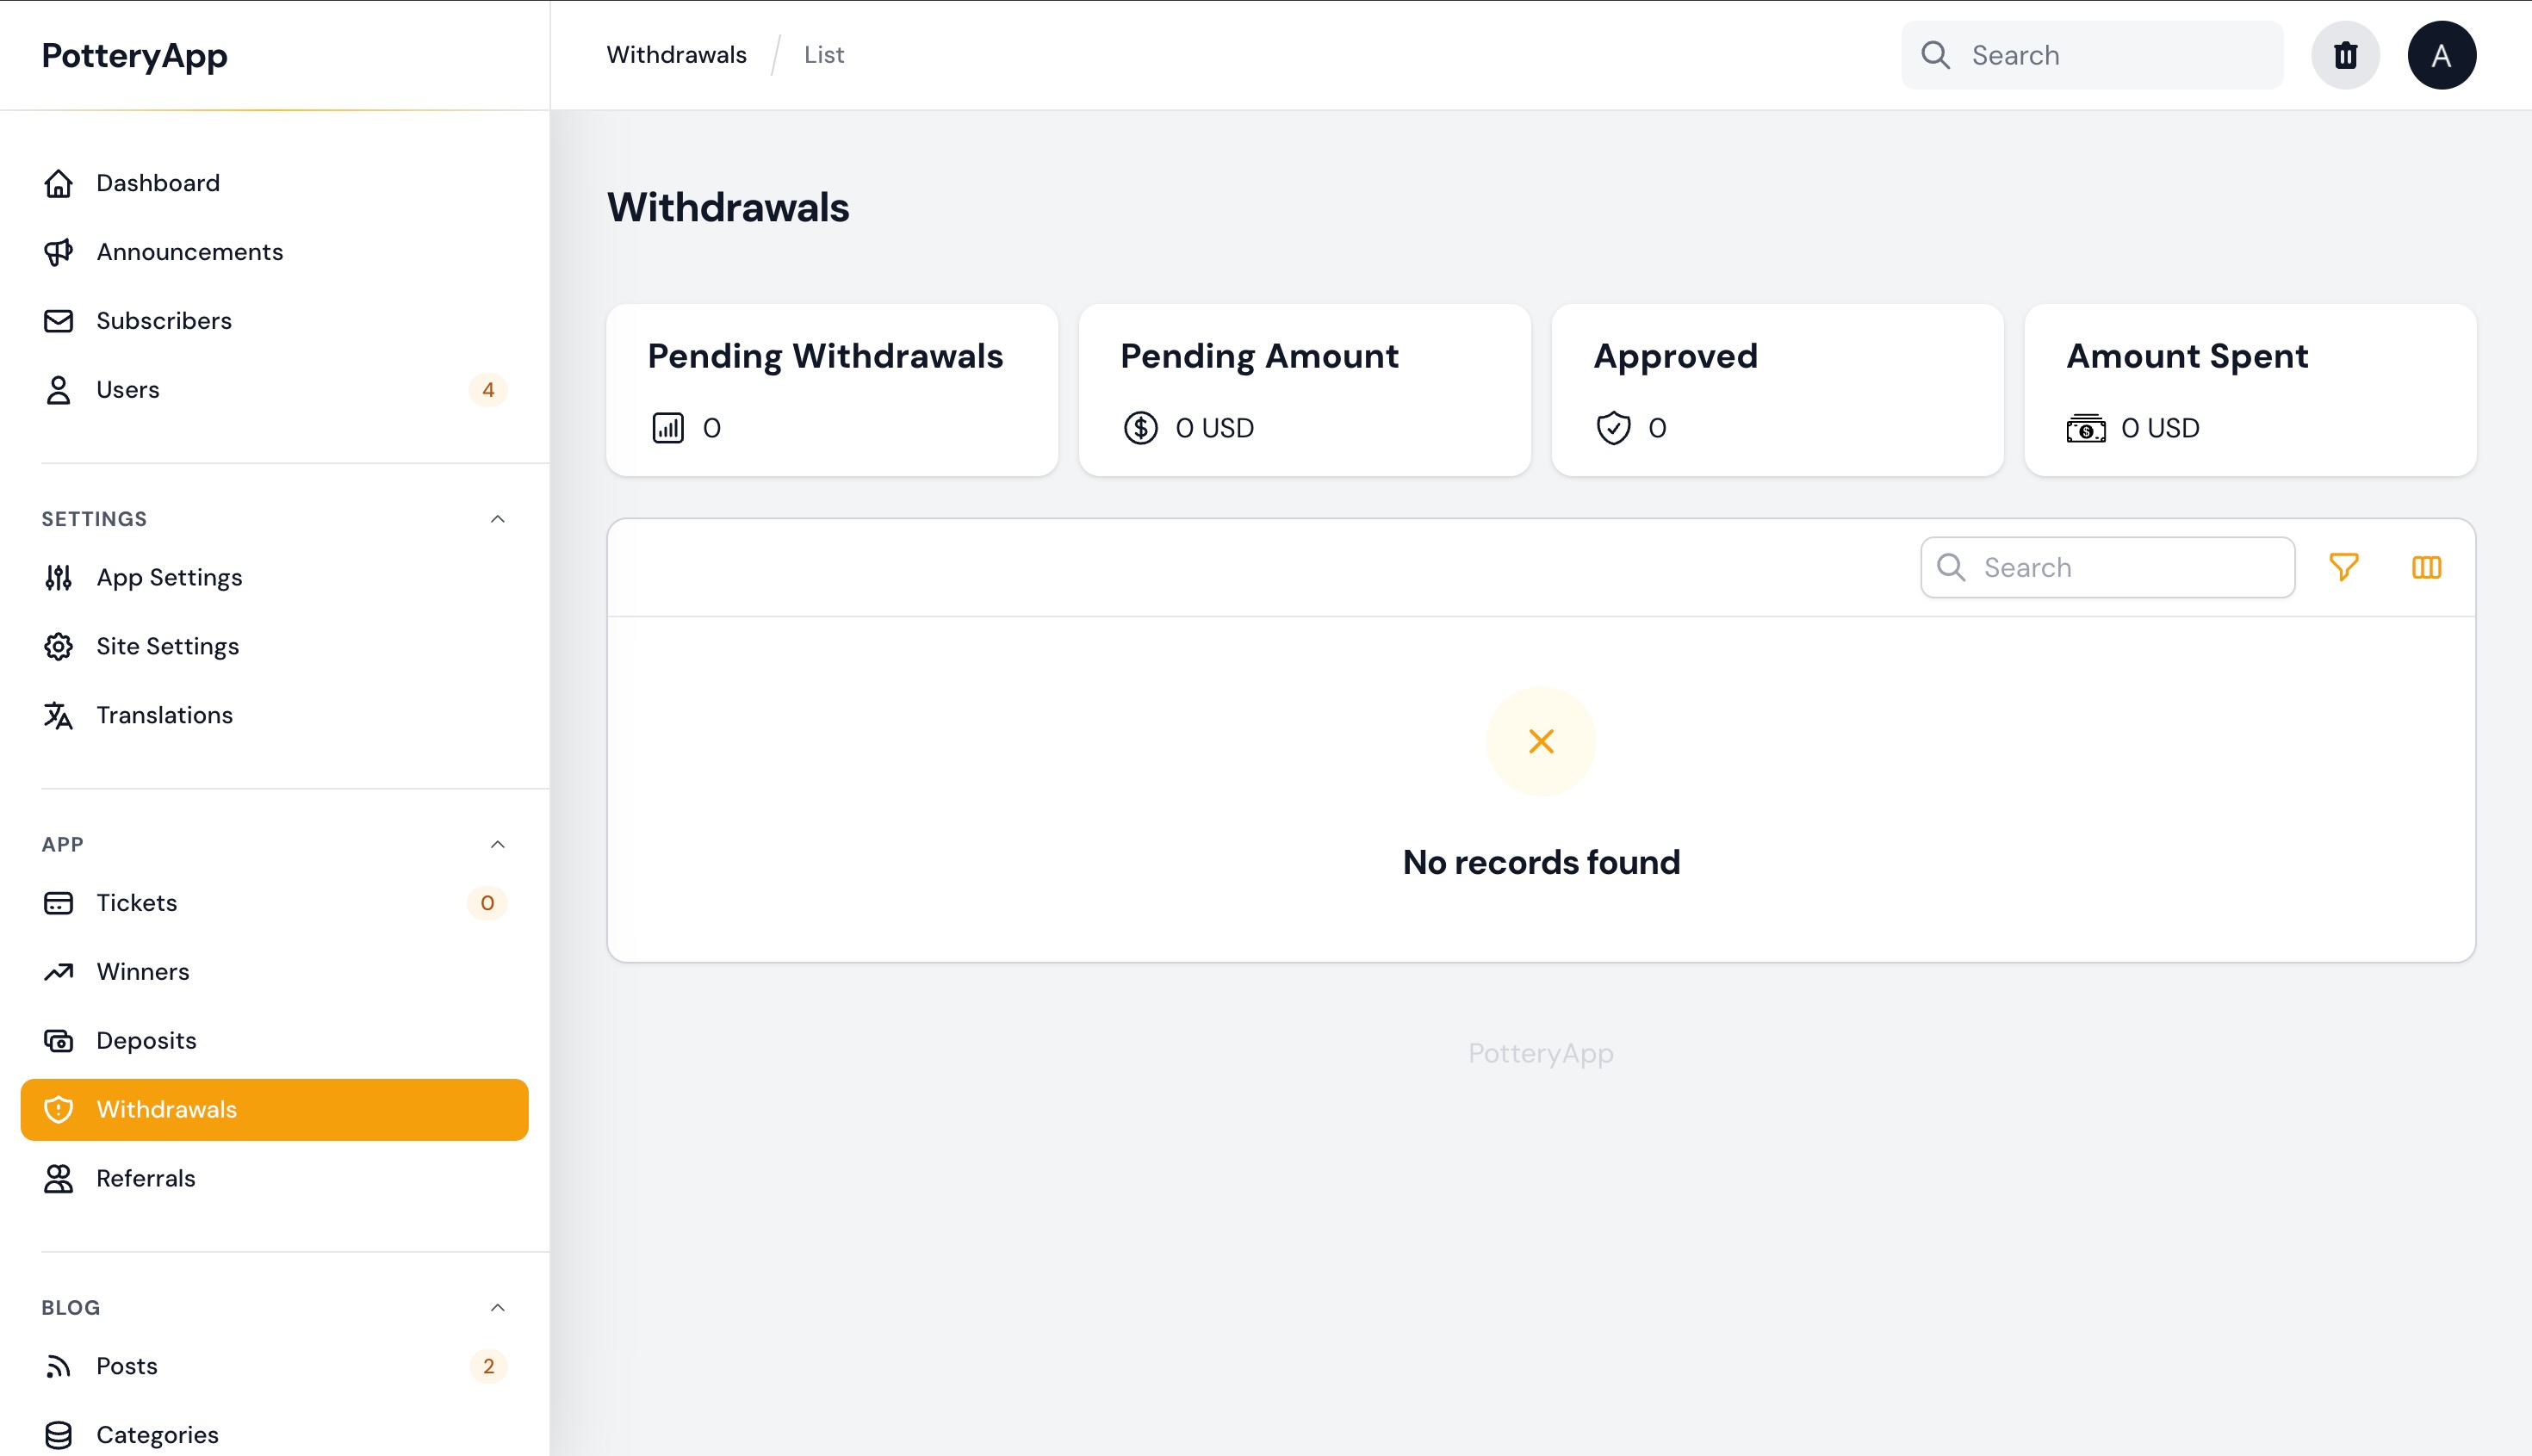
After the user has the threshold amount in their account balance, they can request a withdrawal. This feature allows users to initiate withdrawal requests, track their withdrawal history, and manage their financial transactions within the application. The request will be reflected in the Admin panel, the admin can process the request through paypal. They also have the power to decline their request after having a strong valid reason. Also admin must contact the user in such a case to continue maintaining healthy business relations with their users. The user will be automatically updated via email regarding their withdrawal request.
Referrals
It empowers users to refer friends, colleagues, or acquaintances to the application, earning rewards or incentives in return. User can copy their referral code from their user dashboard under referrals tab. Any other person who entered this referral code while signup will be considered his referral, and the referee will earn incentives based on referral's activities. Referral rewards percentage can be changed from the Admin panel under App Settings tab. All information is shown in the referral's tab only. And an organised overview of the data is also given in the Admin panel from admin POV.
Profile Settings
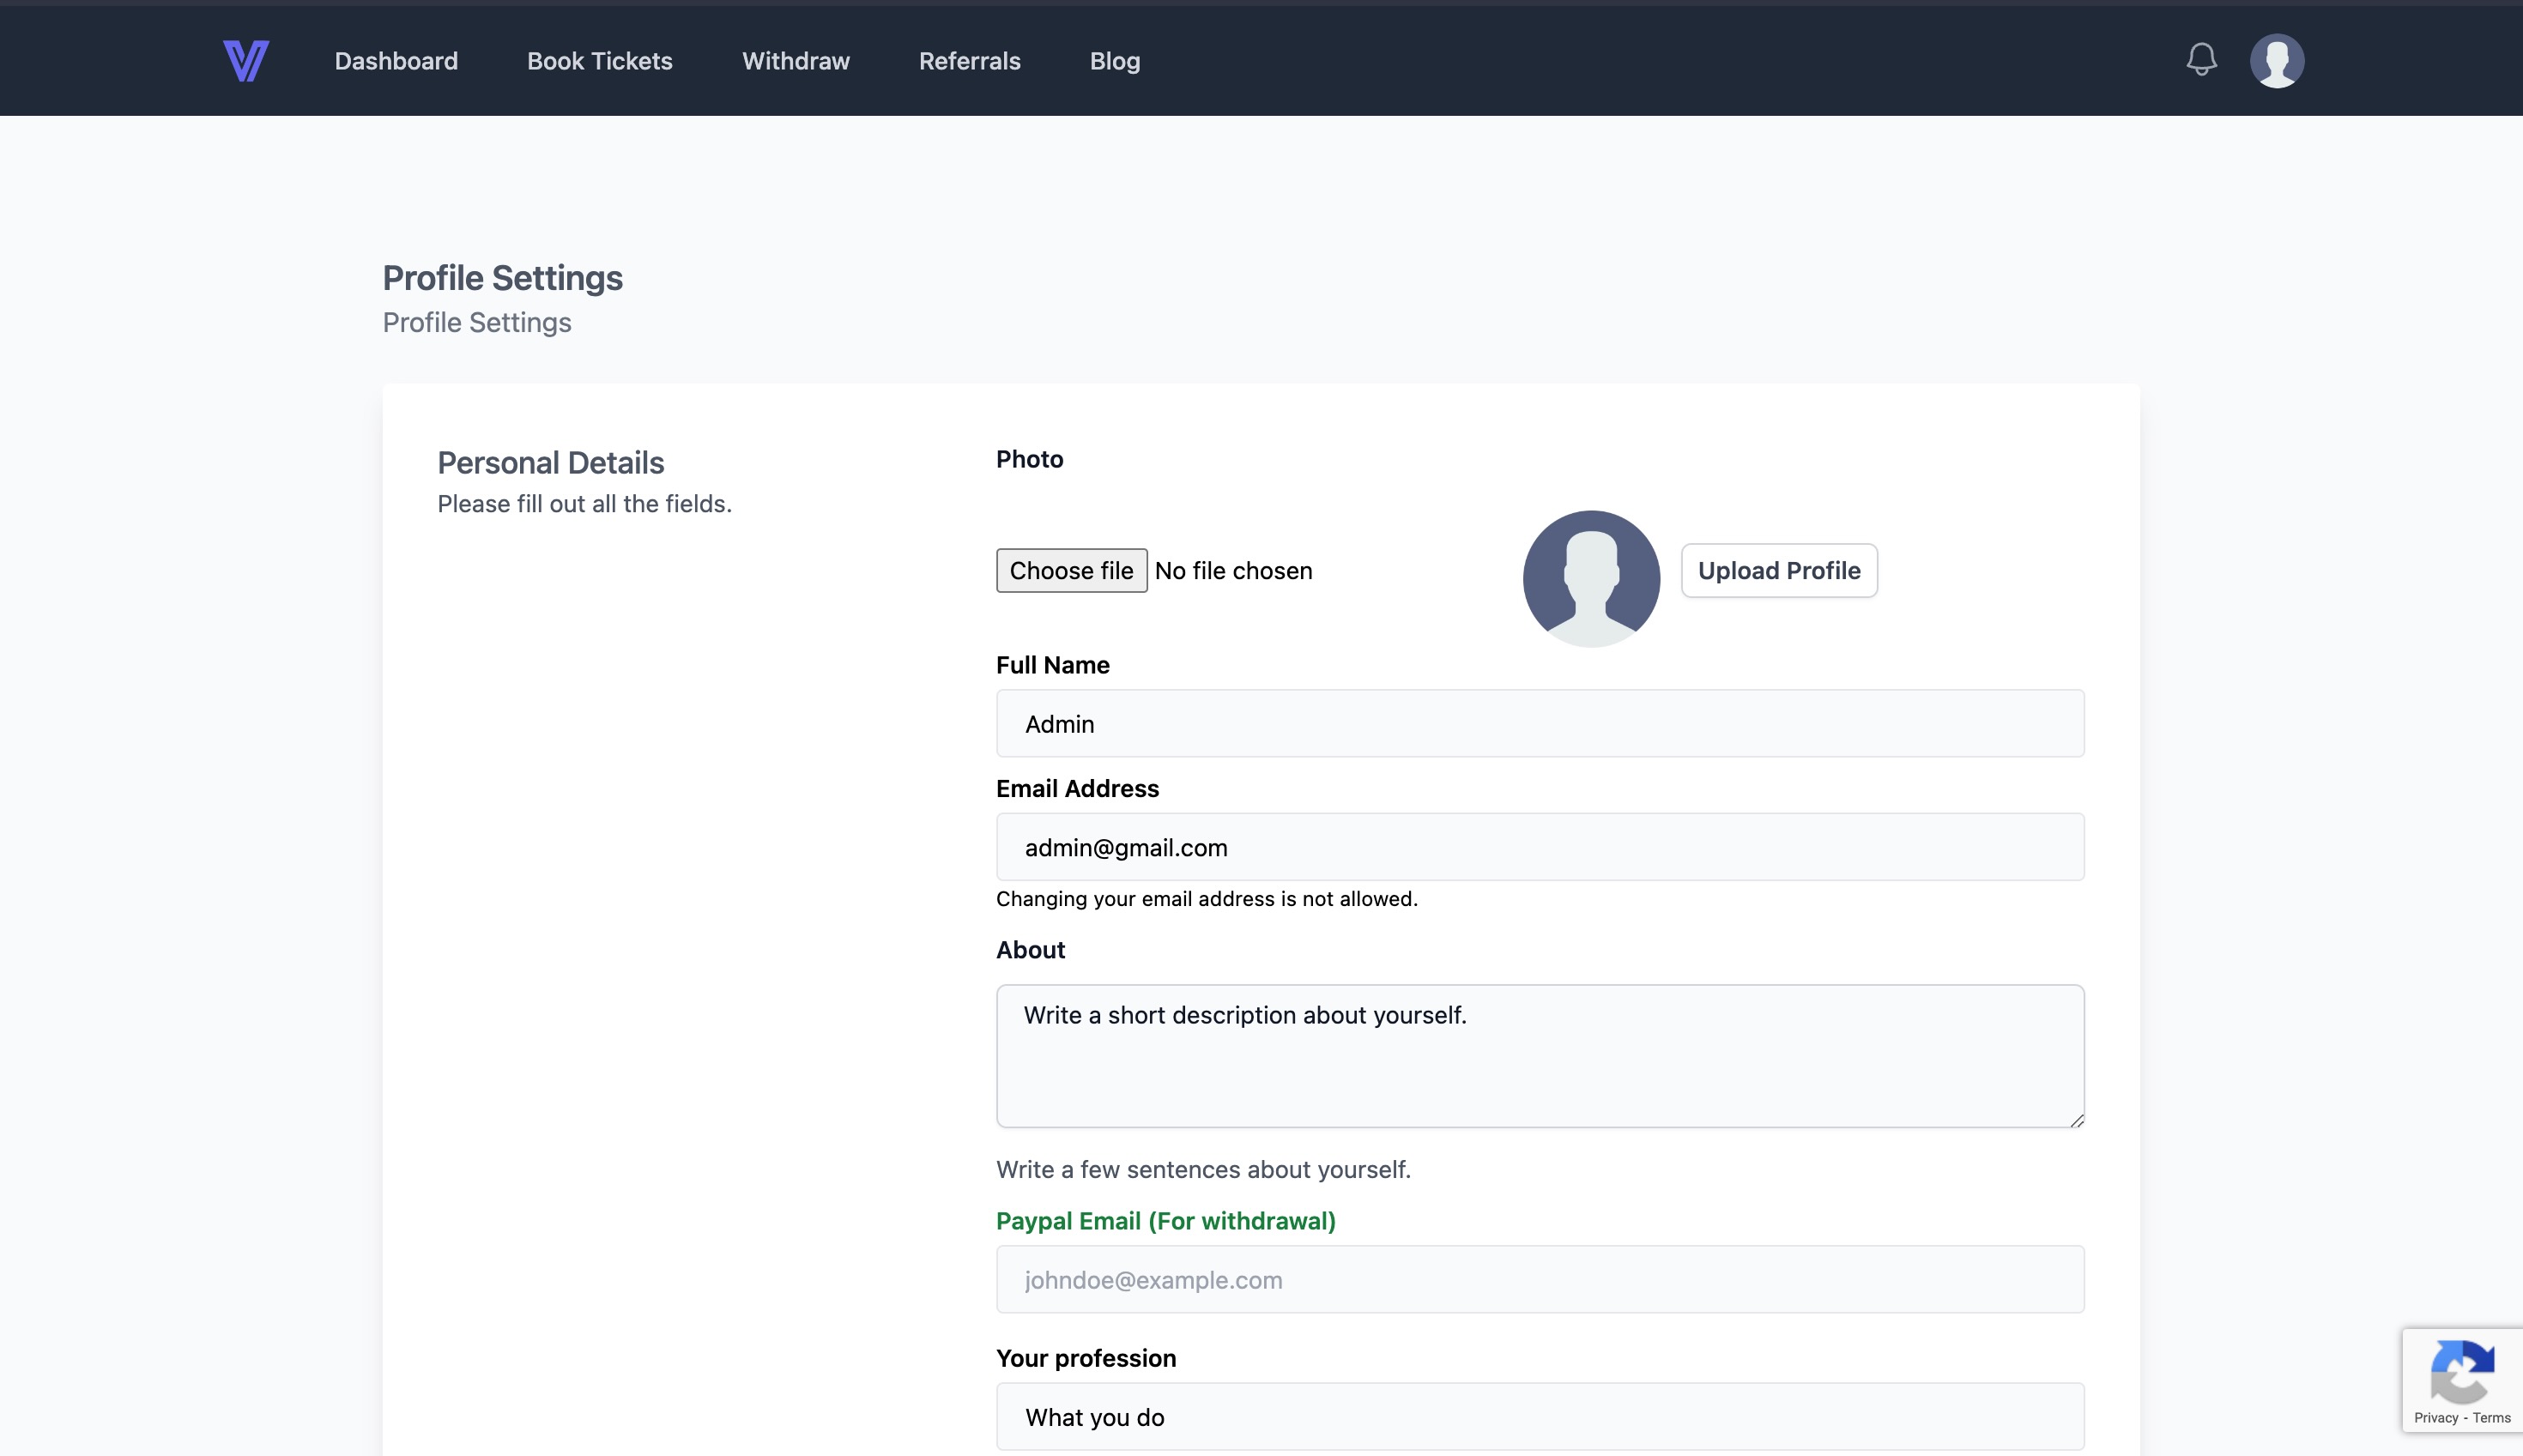
Profile settings provides users with the ability to customize their profiles, update account information, and configure settings to align with their preferences. They can manage it all in one place, like their personal details, their withdrawal account, account security features and much more. The user can change their profile settings from the user dashboard by clicking on the profile image icon on the top right corner. Every updated information will be saved and can also be seen from the Admin panel. The app does not steal any personal data of user without their knowledge. The app stores information only that is shared by the user himself.
Winners
This tab was introduced to provide a transparency between all users and admin. This displays all the tickets that was selected as winners, and everyone can see that information. This way, a transparent image is made and kept within all users that their is no partiality in selecting the winner and is completely random. You can access this information, from user dashboard > book tickets > My tickets > Click on view icon of any ticket > Scroll the page and there you will get an option to see all winners. You will get to see the list of winners in the past.
.jpeg)
Pages
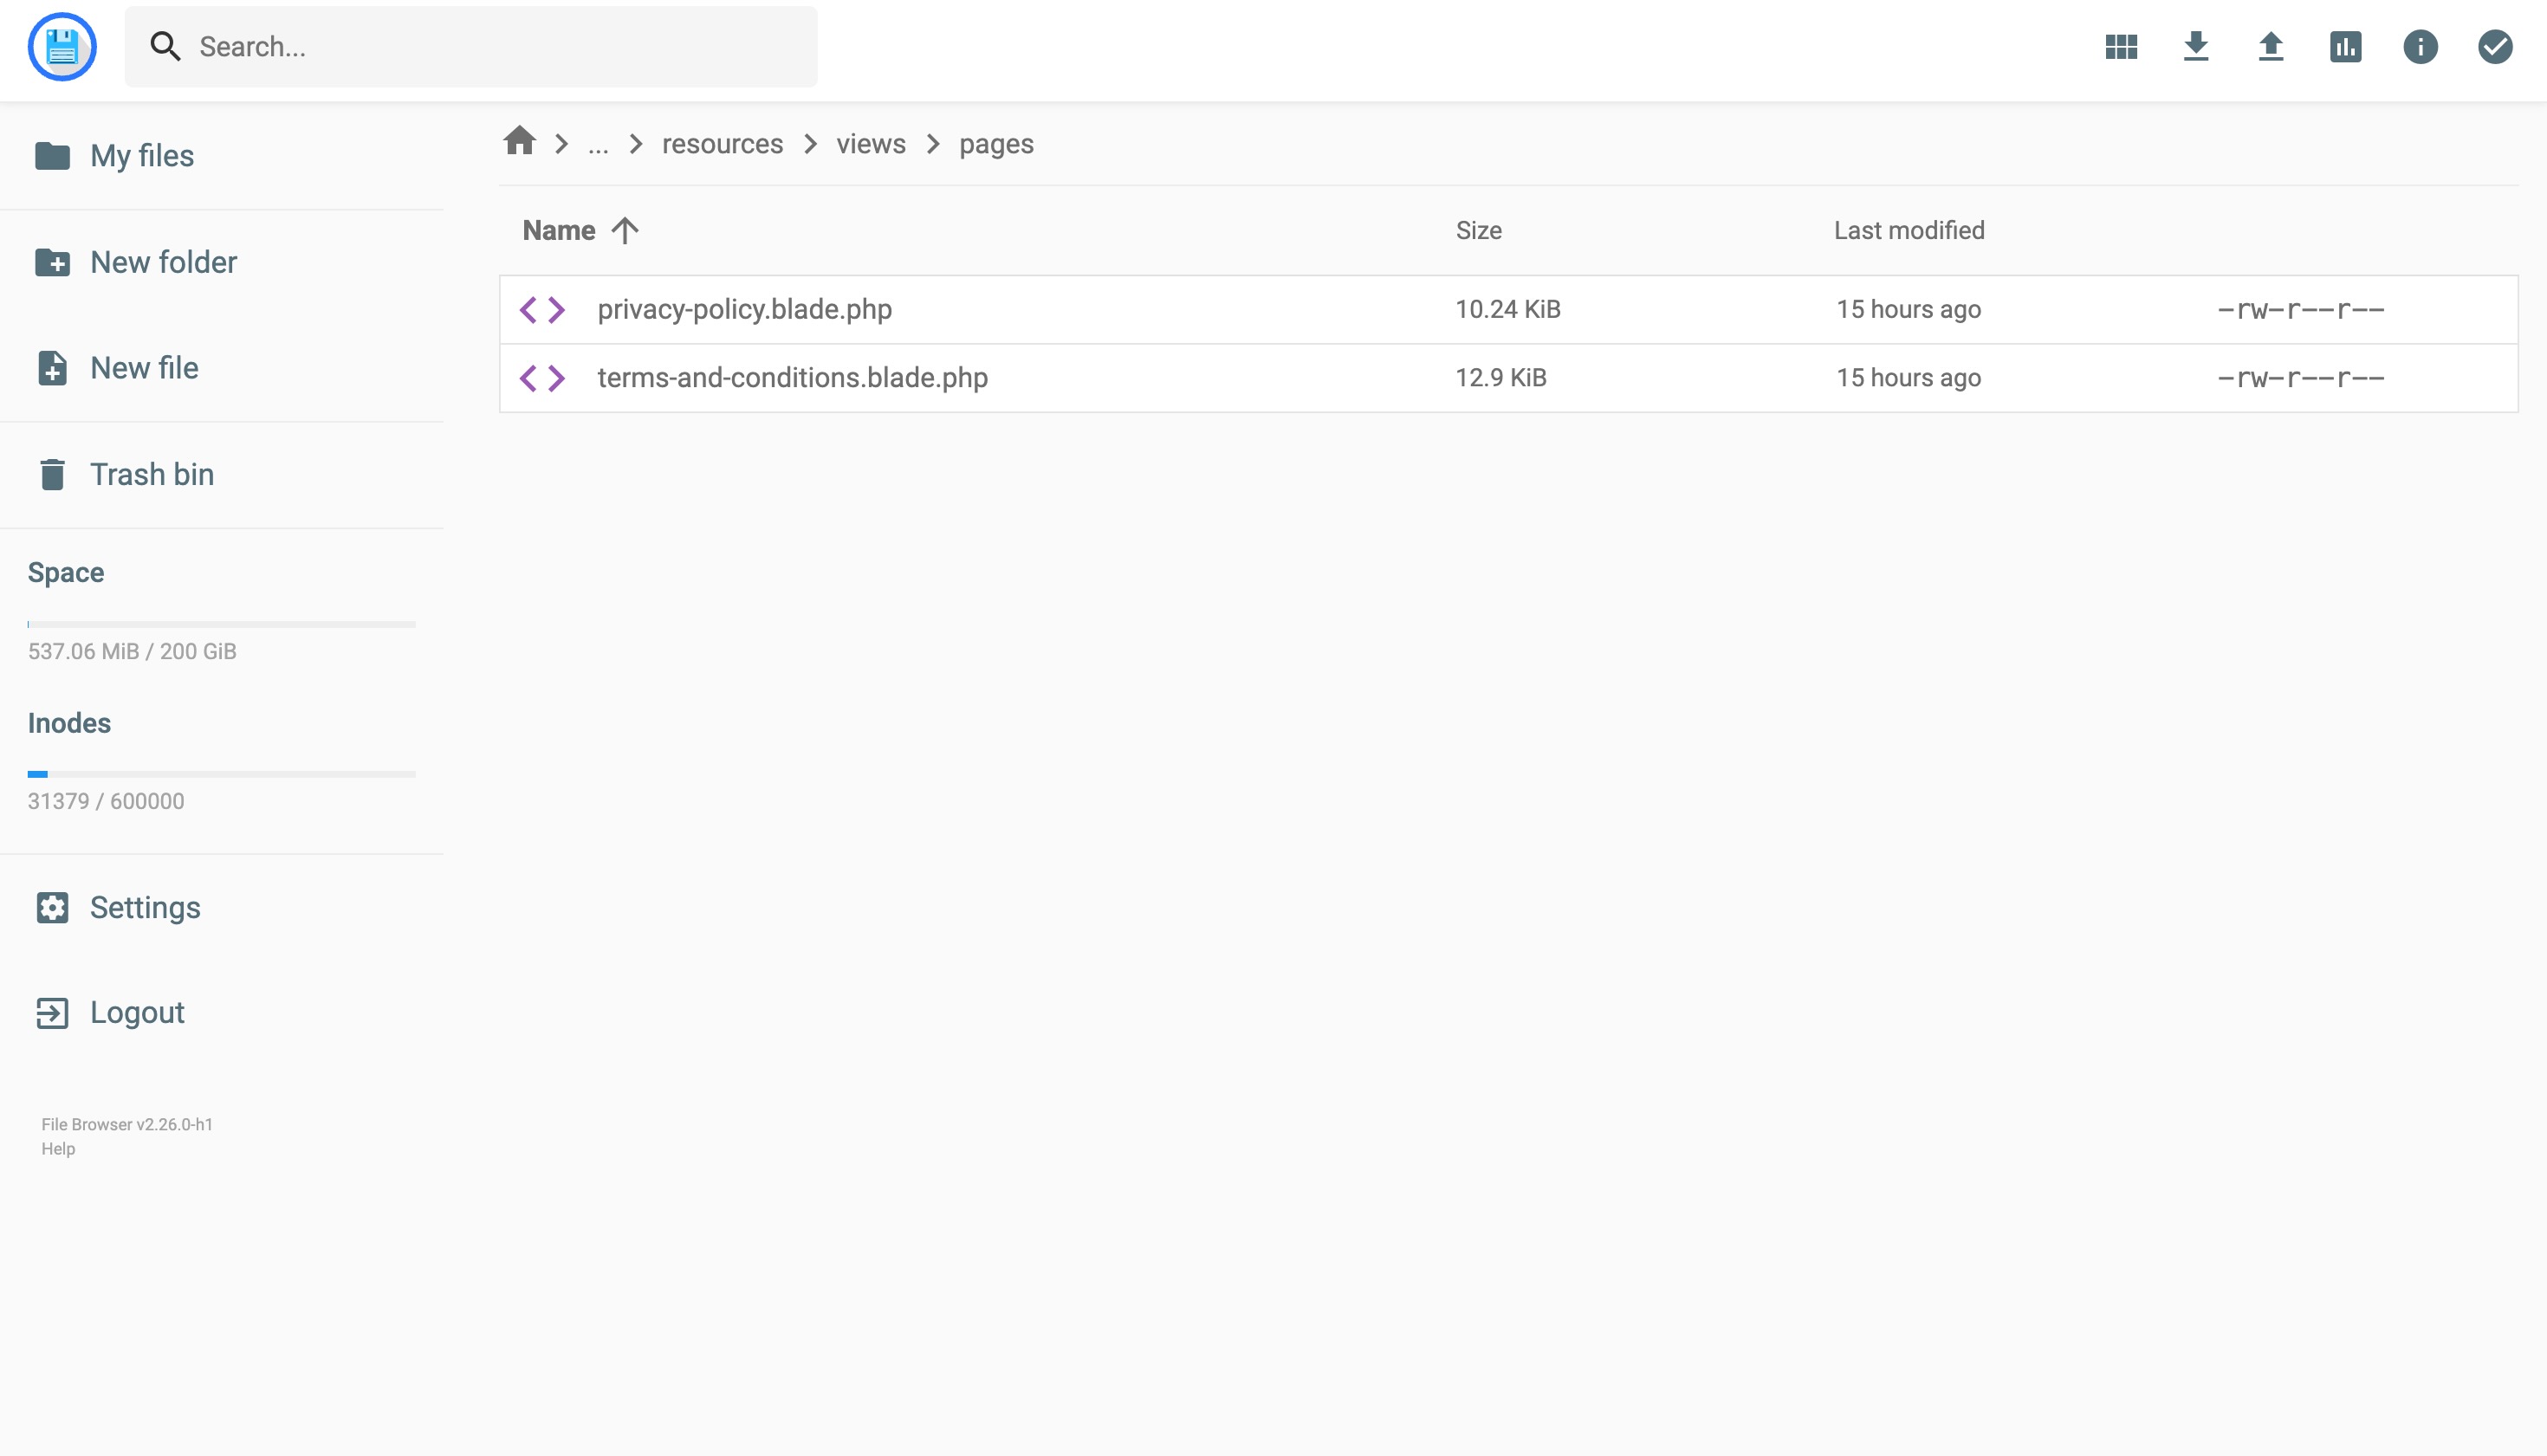
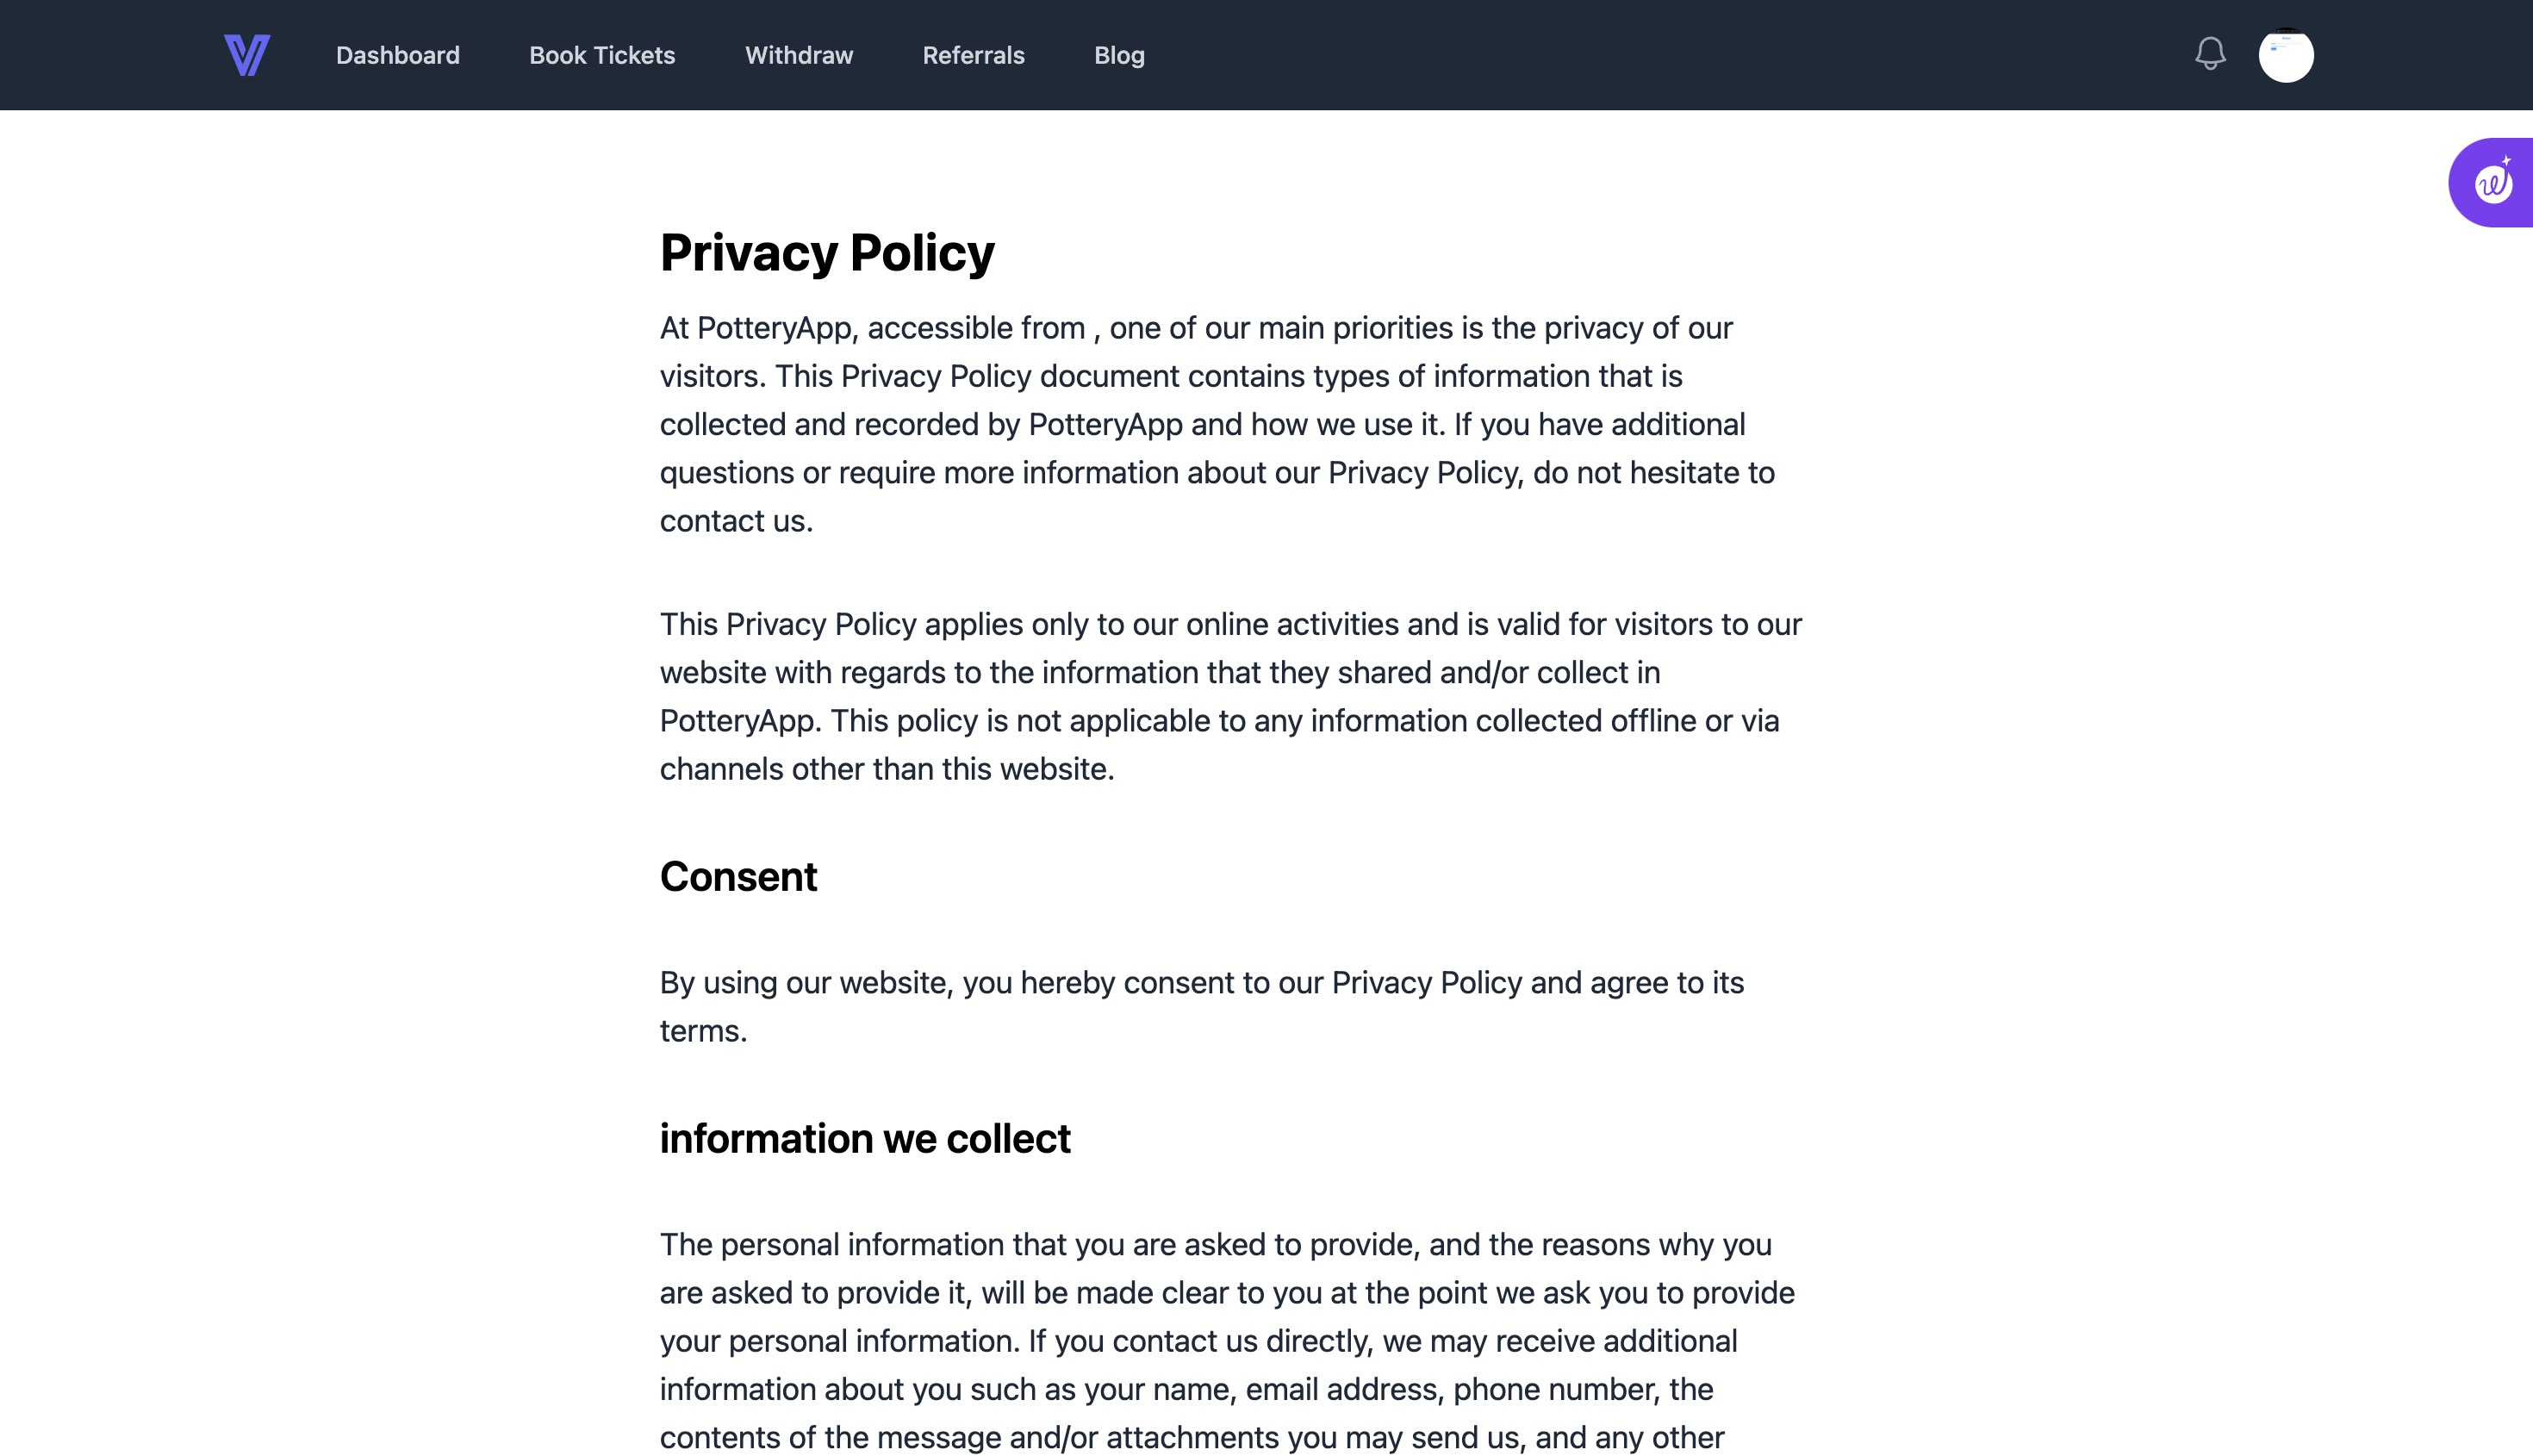
The pages like "Privacy Policy" and "Terms and Conditions" can be found from the /resources/views/pages/ folder. You can open the file, edit and change the content in them as per your needs.
App Settings
Set your App settings very logically and carefully. Keep such settings so that people do not hesitate to invest in your business and you are also able to earn a good amount of reward with the money they invested with you. And you get to keep the maximum profit using their money. We have already set default values which you can change from the Admin panel > App Settings. Make sure to keep a balance between the profit you make and you share with your investors.
Use locked funds wisely
After users invest money in your business. The money will be credited to your paypal account directly. You can use this money and invest it somewhere you can earn more rewards and you share some part of the reward back to the investors along with their investment. This way you get to make the free money, by using someone else's money. But in order to earn more rewards, do not risk the investment. Kindly invest somewhere you know that the investment is safe and rewarding. Do not fall for scams. Because greed can sometimes make you pay heavy prices. In order to maintain healthy business relations, you will have to return the investment to the investors after the locking period ends, keeping your bond. So, it makes very important to use the locked funds wisely.
Maintain healthy relations with customers
This is very important from running a smooth online business point of view. You must maintain healthy relations with your customers, be in their contact, motivate them regularly to invest more and more. Contact them, share valuable insights, proceed with withdrawals on time and much more.
Timely withdrawals
The business model, this app holds is earning rewards on someone else's investment, and keep a share of reward with yourself and return back money to the investor. After the locking period ends, you are obliged to return the money back to the investors. So they are withdrawing their own money which was kept with you, so it needs to be processed as fast as it can. So, kindly process withdrawals on time and update the customer as well.
Blog and announcements
Keeping your blog and announcements active, will keep your website active. Meaning user will remain on your website for a longer time which will make them think and prepare to invest with you. So keeping an active blog is very important. Update the posts and announcements regularly and post information should be related to the business model and user might be interested in reading it. Make them check the website daily for a blog/checking whether their ticket won or not. This will boost your business exponentially.
Provide suggestions to us
Kindly provide your suggestions, so we can work to provide you a better experience running your business. More features which you want to be included or some changes that you may suggest will be welcomed.


.jpeg)
.jpeg)
.jpeg)









.jpeg)
